Lights System
This page covers vehicle lights: adding them, the light types, the RCC_Light inspector, controlling lights from code, lens flares per render pipeline, and breakable lights.
Quick Start
Add a pair of headlights:
- Select your vehicle (the root or any child of it).
- Tools → BoneCracker Games → Realistic Car Controller → Create → Lights → Add Lights To Vehicle → HeadLight. A headlight is added under a
Lightschild of the vehicle (created if missing) and selected. - Move it to the left headlamp.
- Tools → BoneCracker Games → Realistic Car Controller → Create → Lights → Duplicate Selected Light. The copy is mirrored on the X axis, so it lands on the right headlamp.
Press Play and toggle low beams with L, high beams with K. All light controls are in Input System.
How Lights Work
Each vehicle light is a GameObject with a Unity Light and an RCC_Light. Every frame, RCC_Light reads its parent vehicle's state (low beams, brake, gear, indicators) and sets the Light's intensity.
- Full brightness is the Light component's Intensity when the game starts. Set brightness there.
- Lights fade in at a speed set by Inertia and switch off instantly.
- A light that is not under an
RCC_CarControllerV4stays off.
Adding Lights
Menu: Tools → BoneCracker Games → Realistic Car Controller → Create → Lights → Add Lights To Vehicle →
| Menu item | Adds prefab (from RCC Settings → Resources) | Placed at |
|---|---|---|
| HeadLight | RCC_HeadLight |
front, facing forward |
| Brake | RCC_BrakeLight |
rear, facing backward |
| Reverse | RCC_ReverseLight |
rear, facing backward |
| Indicator | RCC_IndicatorLight |
rear, facing backward |
| Interior | RCC_InteriorLight |
vehicle center |
Move each new light to its lamp, then use Duplicate Selected Light for the other side. The vehicle inspector's Lights tab has the same + Head Light, + Brake Light, + Reverse Light and + Indicator Light buttons, plus the Low Beam Head Lights On, High Beam Head Lights On and Interior Lights On toggles for the starting state.
Lights in front of the vehicle's center must face forward; lights behind it must face backward. If one faces the wrong way, the RCC_Light inspector shows Light is facing to wrong direction! with a Fix Rotation button.
Shipped light prefabs
| Prefab | Unity Light type | Color | Intensity | Range | Spot Angle |
|---|---|---|---|---|---|
RCC_HeadLight |
Spot | warm white | 1 | 50 | 90 |
RCC_BrakeLight |
Spot | red | 1 | 2 | 90 |
RCC_ReverseLight |
Spot | white | 1 | 2 | 90 |
RCC_IndicatorLight |
Spot | orange | 1 | 2 | 90 |
RCC_InteriorLight |
Point | warm white | 3 | 1 | — |
Light Types
Set with Light Type on the RCC_Light. There is one Indicator type: its side (left or right) comes from its position on the vehicle.
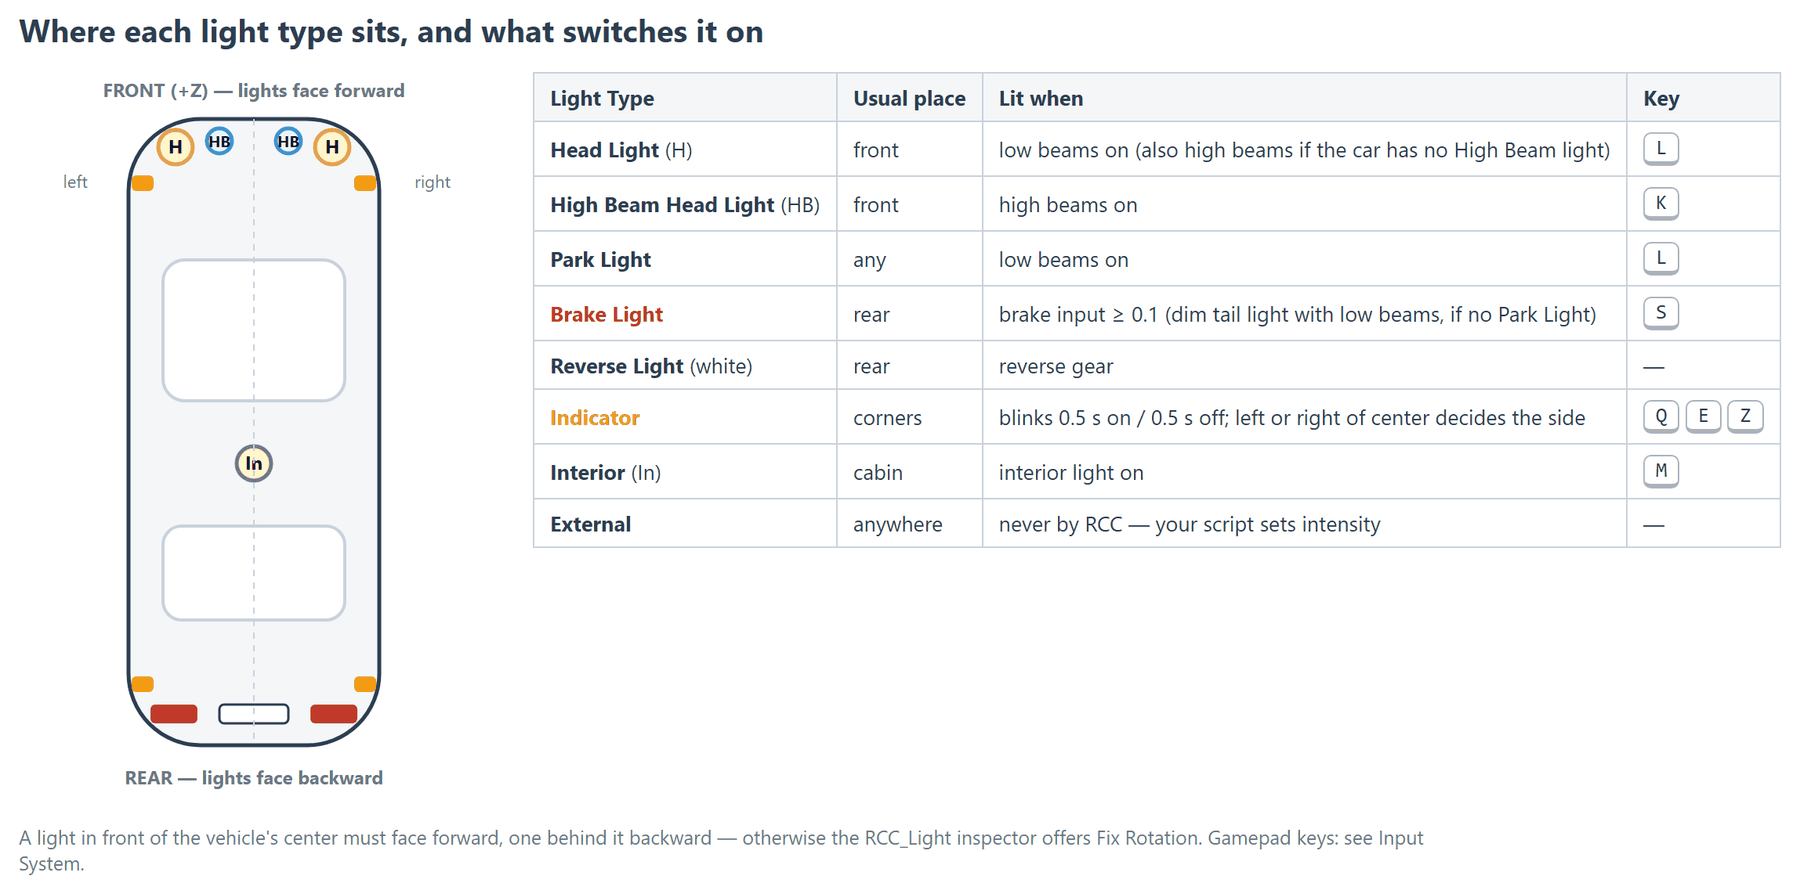
| Light Type | Lit when | Notes |
|---|---|---|
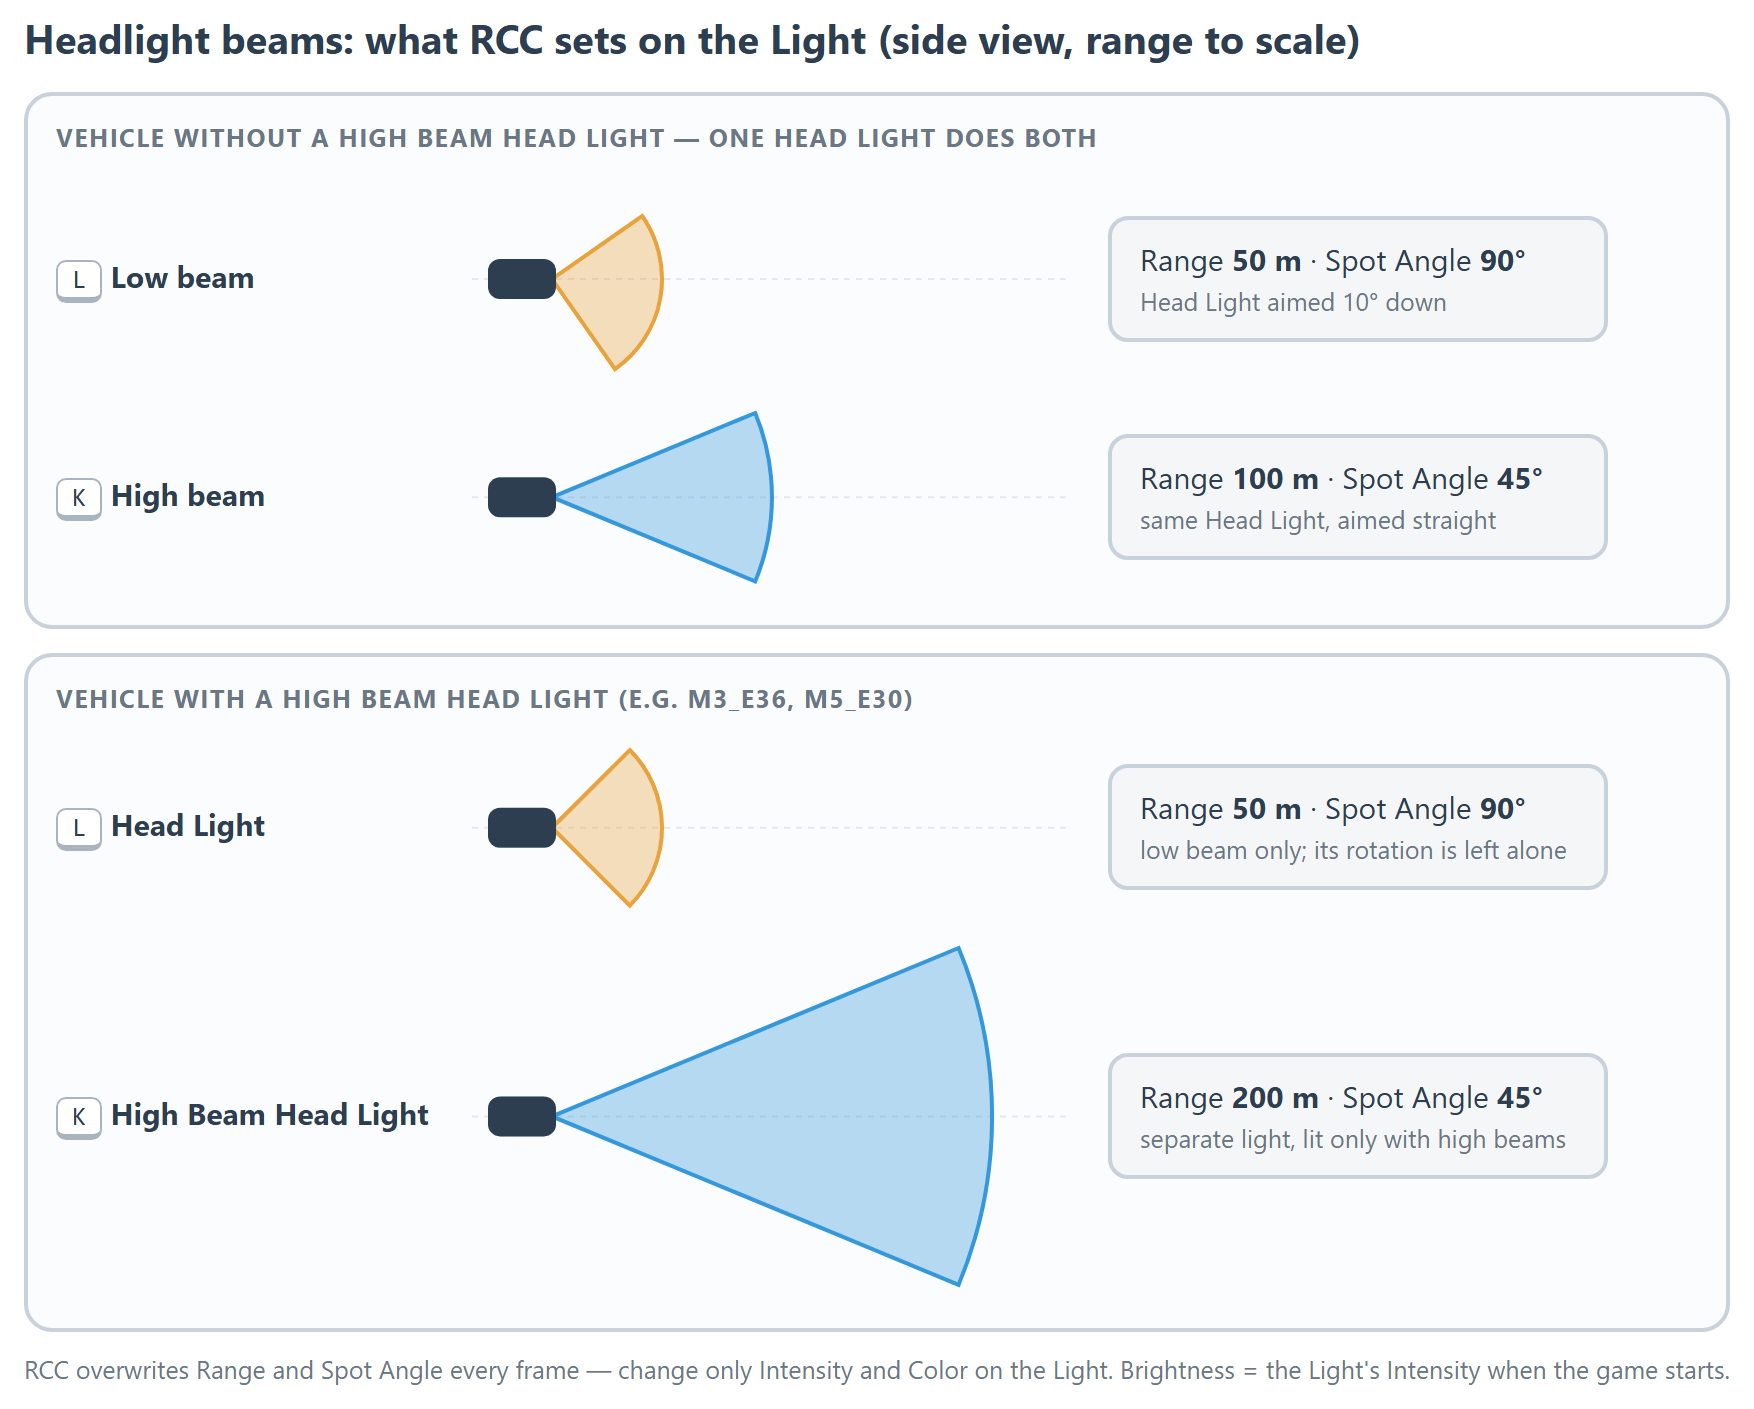
| Head Light | Low beams are on | If the vehicle has no High Beam Head Light: low beam uses range 50 / spot angle 90, aimed 10° down; high beam uses range 100 / spot angle 45, aimed straight. If it has one: this light is a low beam only (range 50 / spot angle 90). |
| Brake Light | Brake input ≥ 0.1 | With low beams on and no Park Light on the vehicle, it glows at intensity 0.25 as a tail light. |
| Reverse Light | Reverse gear is engaged | |
| Indicator | Left, right or hazard indicators are on | Blinks 0.5 s on / 0.5 s off. Left of the vehicle's center = left indicator, right = right indicator. Plays Indicator Clip (RCC Settings → SFX Settings) at each blink. |
| Park Light | Low beams are on | Its presence turns off the brake lights' tail-light glow. |
| High Beam Head Light | High beams are on | Range 200, spot angle 45. Its presence changes Head Light behavior (above). |
| External | Never set by RCC | Your script sets the Light's intensity. RCC still drives its lens flare, trail and emission. |
| Interior | Interior light is on |
Head Light and High Beam Head Light overwrite the Light's Range and Spot Angle every frame, and a Head Light without a High Beam Head Light also overwrites its own rotation. Edit Intensity and Color only. To aim headlights, rotate a parent object.
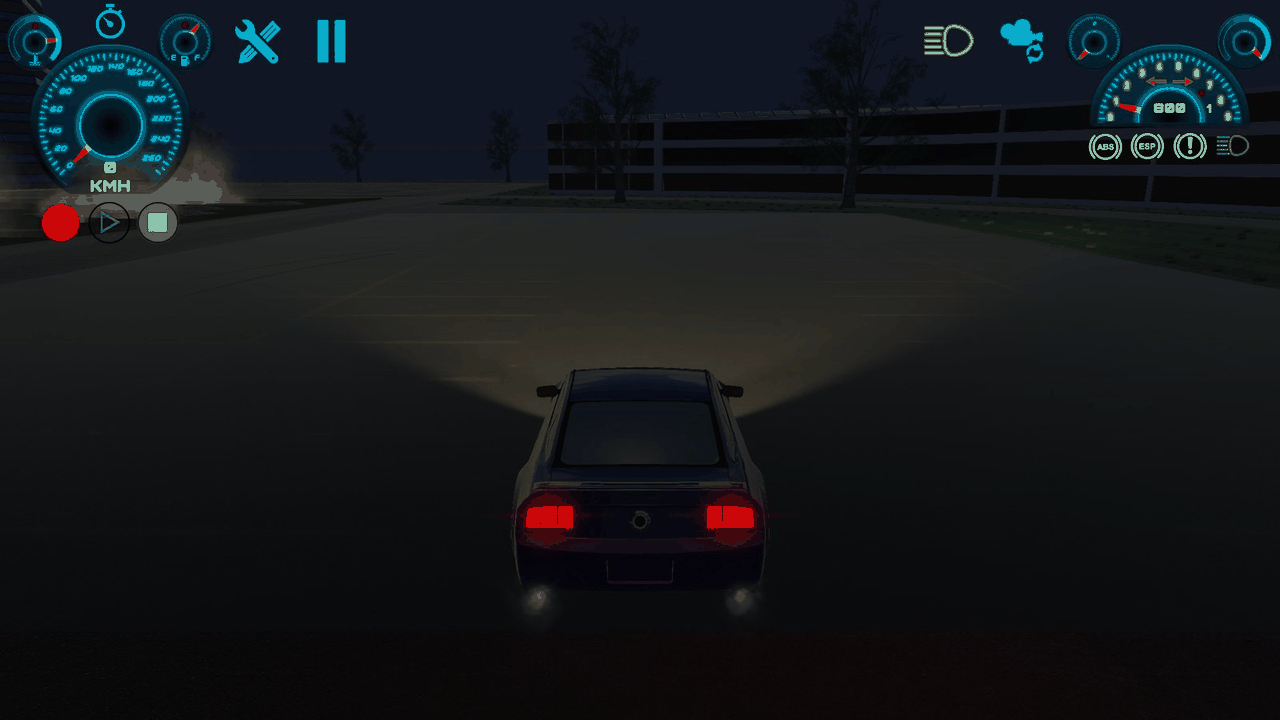
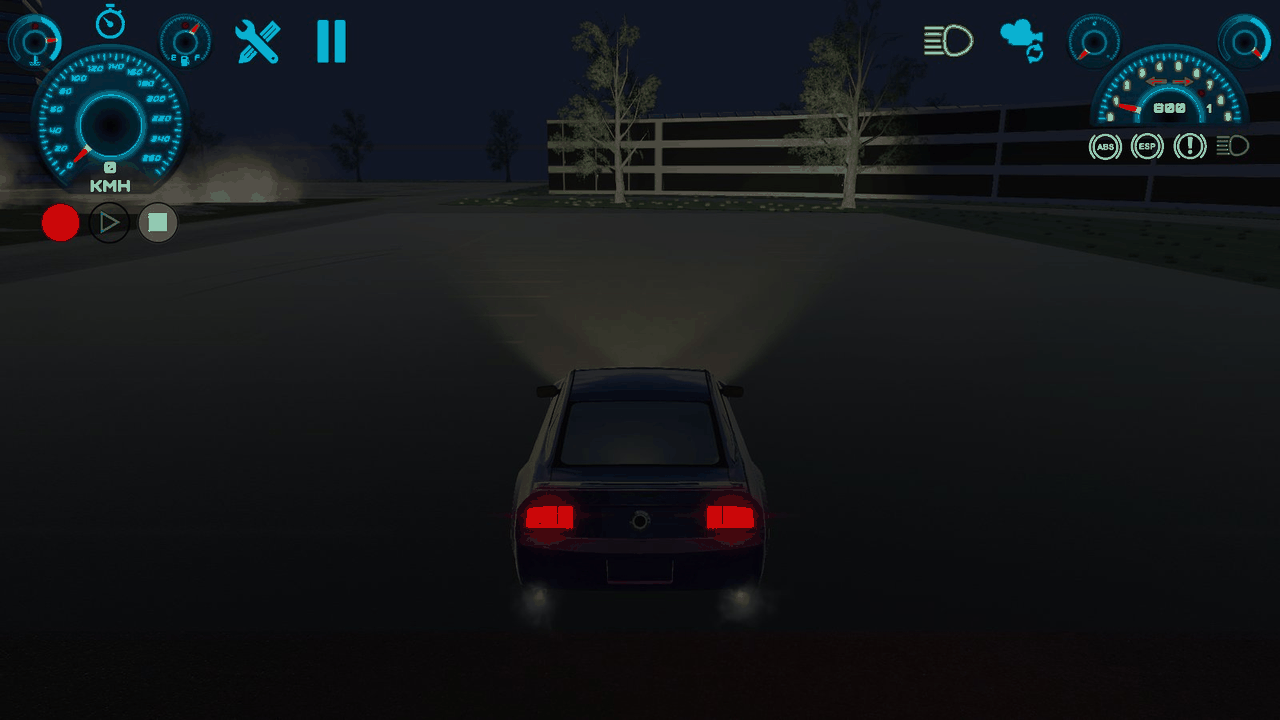
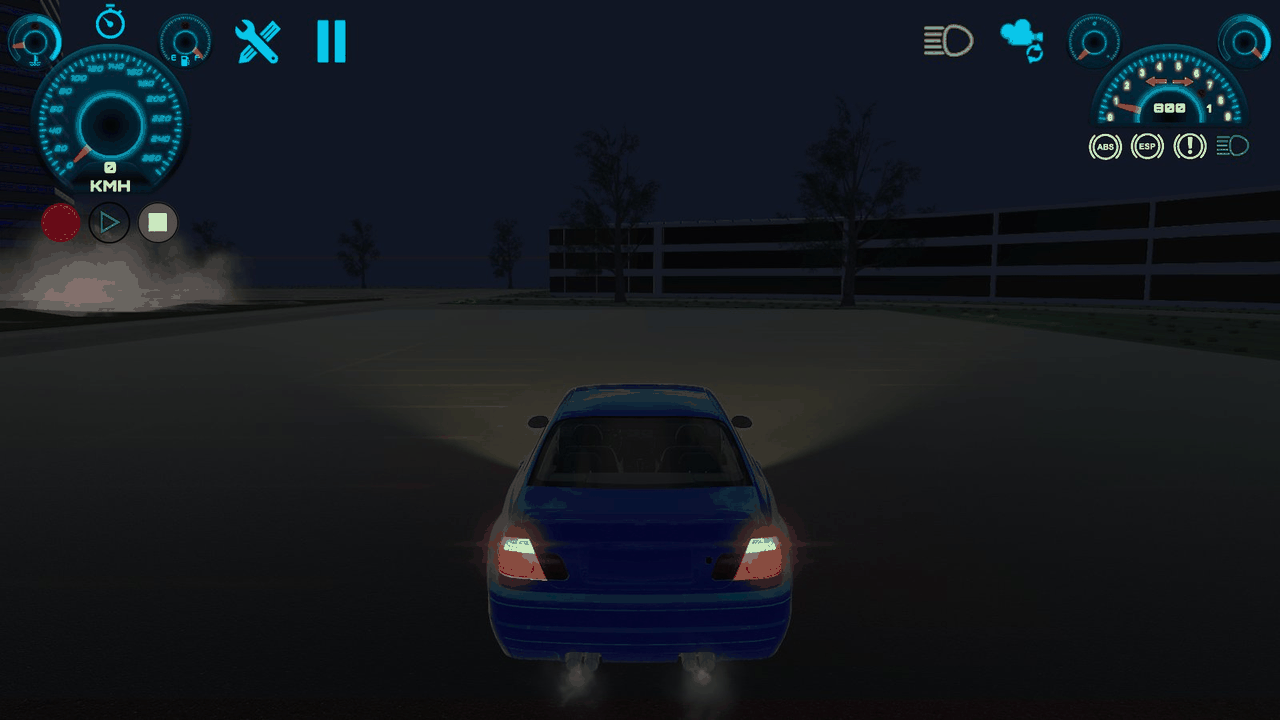
The M3_E36 and M5_E30 demo vehicles use Park Lights and High Beam Head Lights.
RCC_Light Inspector
Shipped defaults are from the prefabs in the table above.
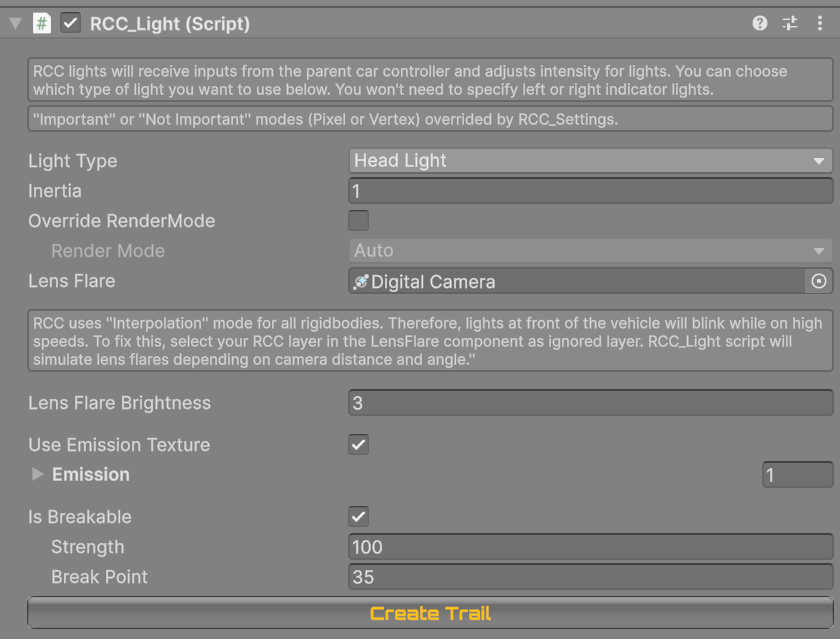
| Inspector label | What it does | Shipped default |
|---|---|---|
| Light Type | Which vehicle state drives this light (see Light Types). | Matches the prefab |
| Inertia | Fade-in speed. Higher = faster. | 1 |
| Override RenderMode | Off: RCC sets the Light's render mode from RCC Settings (see Performance). On: uses Render Mode below. | Off |
| Render Mode | Auto / Force Pixel / Force Vertex. Editable only with Override RenderMode on. | Auto |
| Lens Flare | Flare asset used by the Built-in lens flare. | Digital Camera flare (none on Interior) |
| Create LensFlare (button) | Adds a Built-in LensFlare component. Shown when there is none. |
— |
| Lens Flare Brightness | Lens flare strength. Shown when a Built-in LensFlare component exists. |
3 (Head Light), 1.5 (others) |
| Use Emission Texture | Drives the emission of the lamp's mesh material from this light. | Off |
| Emission | List of emissive materials to drive (see below). Shown with Use Emission Texture on. | Empty |
| Is Breakable | Collisions can break this light. | On |
| Strength | Health of the light. Collisions reduce it. | 100 |
| Break Point | The light breaks when Strength drops to this value or below. | 35 |
| Create Trail / Select Trail (button) | Adds RCC Settings → Light Trailers as a child, or selects the existing trail. The trail emits while the light is lit. | — |
Emission (glowing lamp meshes)
Enable Use Emission Texture and add one entry per lamp material:
| Field | What it does | Default |
|---|---|---|
| Light Renderer | Renderer that holds the lamp material. | None |
| Material Index | Index of the material on that renderer. | 0 |
| No Texture | Off: emission = white × light intensity (lets the emission texture set the color). On: emission = light color × light intensity. | Off |
| Apply Alpha | Also writes intensity into the emission color's alpha. | Off |
| Multiplier | Emission strength. Range 0.1–10. | 1 |
| Shader Keyword Emission Color | Material color property to write. | _EmissionColor (_EmissiveColor on HDRP) |
Controlling Lights from Code
Light state lives on RCC_CarControllerV4:
| Field | Type |
|---|---|
lowBeamHeadLightsOn |
bool |
highBeamHeadLightsOn |
bool |
interiorLightsOn |
bool |
indicatorsOn |
RCC_CarControllerV4.IndicatorsOn — Off, Right, Left, All (hazard) |
using UnityEngine;

public class VehicleLightsExample : MonoBehaviour {

    [Tooltip("Vehicle to control. Leave empty to use the active player vehicle.")]
    public RCC_CarControllerV4 vehicle;

    // Hook these to UI buttons or your own day/night system.
    public void SetNightMode(bool night) {

        RCC_CarControllerV4 target = GetVehicle();

        if (!target)
            return;

        target.lowBeamHeadLightsOn = night;
        target.interiorLightsOn = night;

    }

    public void ToggleHazards() {

        RCC_CarControllerV4 target = GetVehicle();

        if (!target)
            return;

        target.indicatorsOn = target.indicatorsOn == RCC_CarControllerV4.IndicatorsOn.All
            ? RCC_CarControllerV4.IndicatorsOn.Off
            : RCC_CarControllerV4.IndicatorsOn.All;

    }

    private RCC_CarControllerV4 GetVehicle() {

        return vehicle ? vehicle : RCC_SceneManager.Instance.activePlayerVehicle;

    }

}
Player key presses toggle these same fields, but only while the vehicle can be controlled and is not externally controlled. Light inputs are also raised as events on RCC_Events — see Events System.
Performance: Pixel vs Vertex Lights
Tools → BoneCracker Games → Realistic Car Controller → Edit RCC Settings → Optimization sets each light's render mode when the vehicle starts (unless Override RenderMode is on):
| Setting | Applies to | Shipped |
|---|---|---|
| Head Lights As Vertex Lights | Head Light | Off |
| Brake Lights As Vertex Lights | Brake Light | On |
| Reverse Lights As Vertex Lights | Reverse Light | On |
| Indicator Lights As Vertex Lights | Indicator | On |
| Other Lights As Vertex Lights | Park Light, External, exhaust flame lights | On |
On = vertex (cheap), Off = pixel. High Beam Head Light and Interior use the Render Mode field. RCC Settings recommends vertex lights on mobile.
Render Pipelines and Lens Flares
- Built-in:
RCC_Lightdrives Unity's legacyLensFlarecomponent with the Lens Flare asset. If front lens flares flicker at speed, add your RCC vehicle layer to the LensFlare's Ignore Layers. - URP / HDRP:
RCC_Lightdrives aLensFlareComponentSRPon the same GameObject. The Render Pipeline Converter's 2. Convert RCC Lens Flares to SRP button replaces the legacy flares on all RCC prefabs, using RCC Settings → Lensflare URP. On URP, a vehicle also replaces any remaining legacy flares, and adds an SRP flare to lights without one, when it starts. - HDRP: lights need much higher intensities. When you edit an
RCC_Lightthat has Emission entries, an Intensity of 1 or less is raised to 600, and a Head Light at 600 or less to 1600.
Full pipeline setup: Render Pipelines.
Breakable Lights
When the vehicle's damage Light toggle is on, a collision near a light lowers its Strength. At Break Point or below, the light goes dark until the vehicle is repaired, for example with RCC.Repair(vehicle). Turn Is Breakable off for lights that should never break. Damage radius and multiplier: Damage System.
See Also
- Input System — light keys and gamepad buttons
- Damage System — light damage settings
- Render Pipelines — URP / HDRP conversion
- RCC Settings — light prefabs and optimization options
- Events System — light input events