Demo Scenes
This page lists every demo scene that ships with Realistic Car Controller V6.0.0. For each one it says what the scene shows, what to try, and which scripts to read.
The scenes are in Assets/RealisticCarControllerV4/Demo Scenes/.
Before You Start
- Open Tools → BoneCracker Games → Realistic Car Controller → Welcome Window.
- On the Welcome tab, click Add Demo Scenes To Build Settings.
- On the Demos tab, click a scene's button to open it, then press Play.
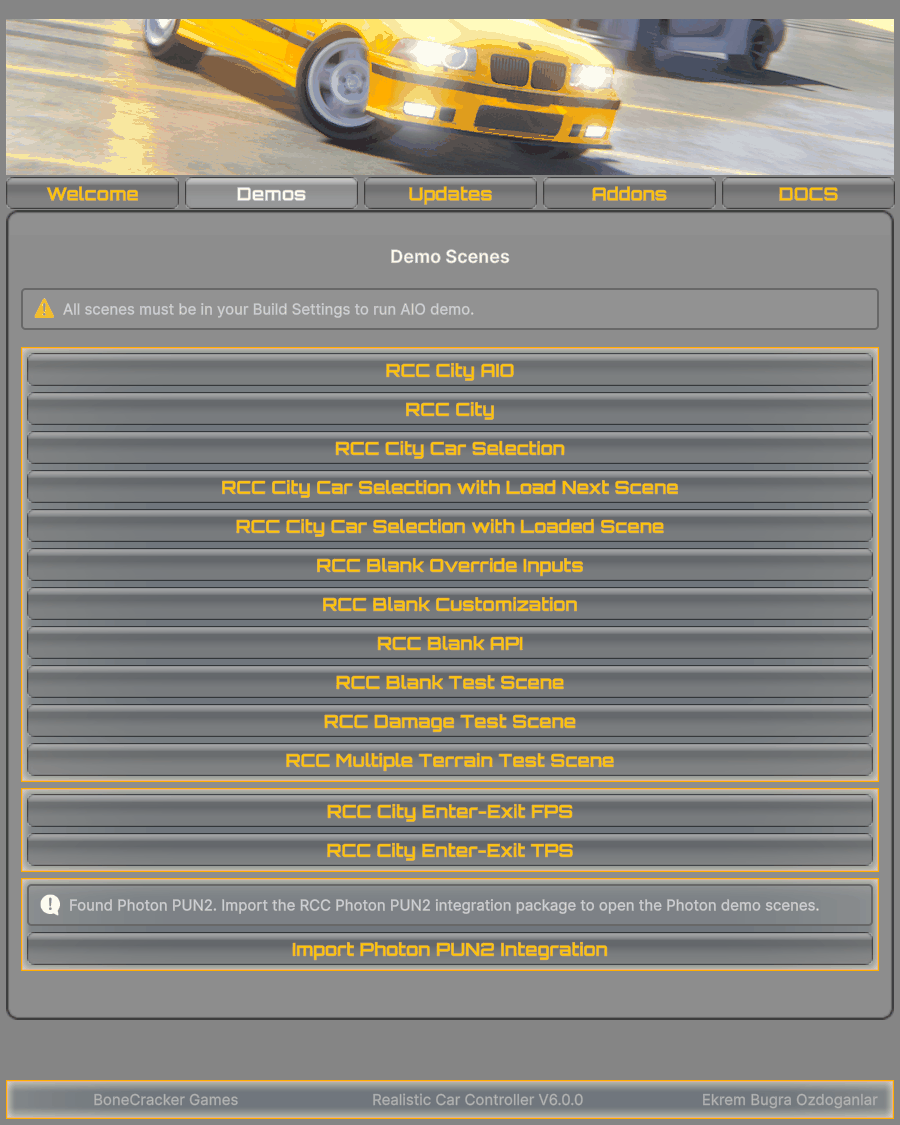
Some demos load other scenes by name: the All-In-One menu, the car selection pair, and the Photon lobby. A scene loaded by name must be in Build Settings.
Note: Add Demo Scenes To Build Settings replaces your current Build Settings scene list with the demo scenes. The add-on demo scenes (Enter-Exit, Photon PUN 2) are added only if they are in your project.
Essential Controls
- Throttle / Brake / Steer: W, S, A, D or the arrow keys. On a gamepad: Right Trigger, Left Trigger, Left Stick.
- Handbrake: Space. On a gamepad: South (A / Cross).
- Start / Stop Engine: I. On a gamepad: North (Y / Triangle).
- Change Camera: C. On a gamepad: Left Stick Press.
- NOS: F. On a gamepad: East (B / Circle).
For every binding, see Input System.
Scene Summary
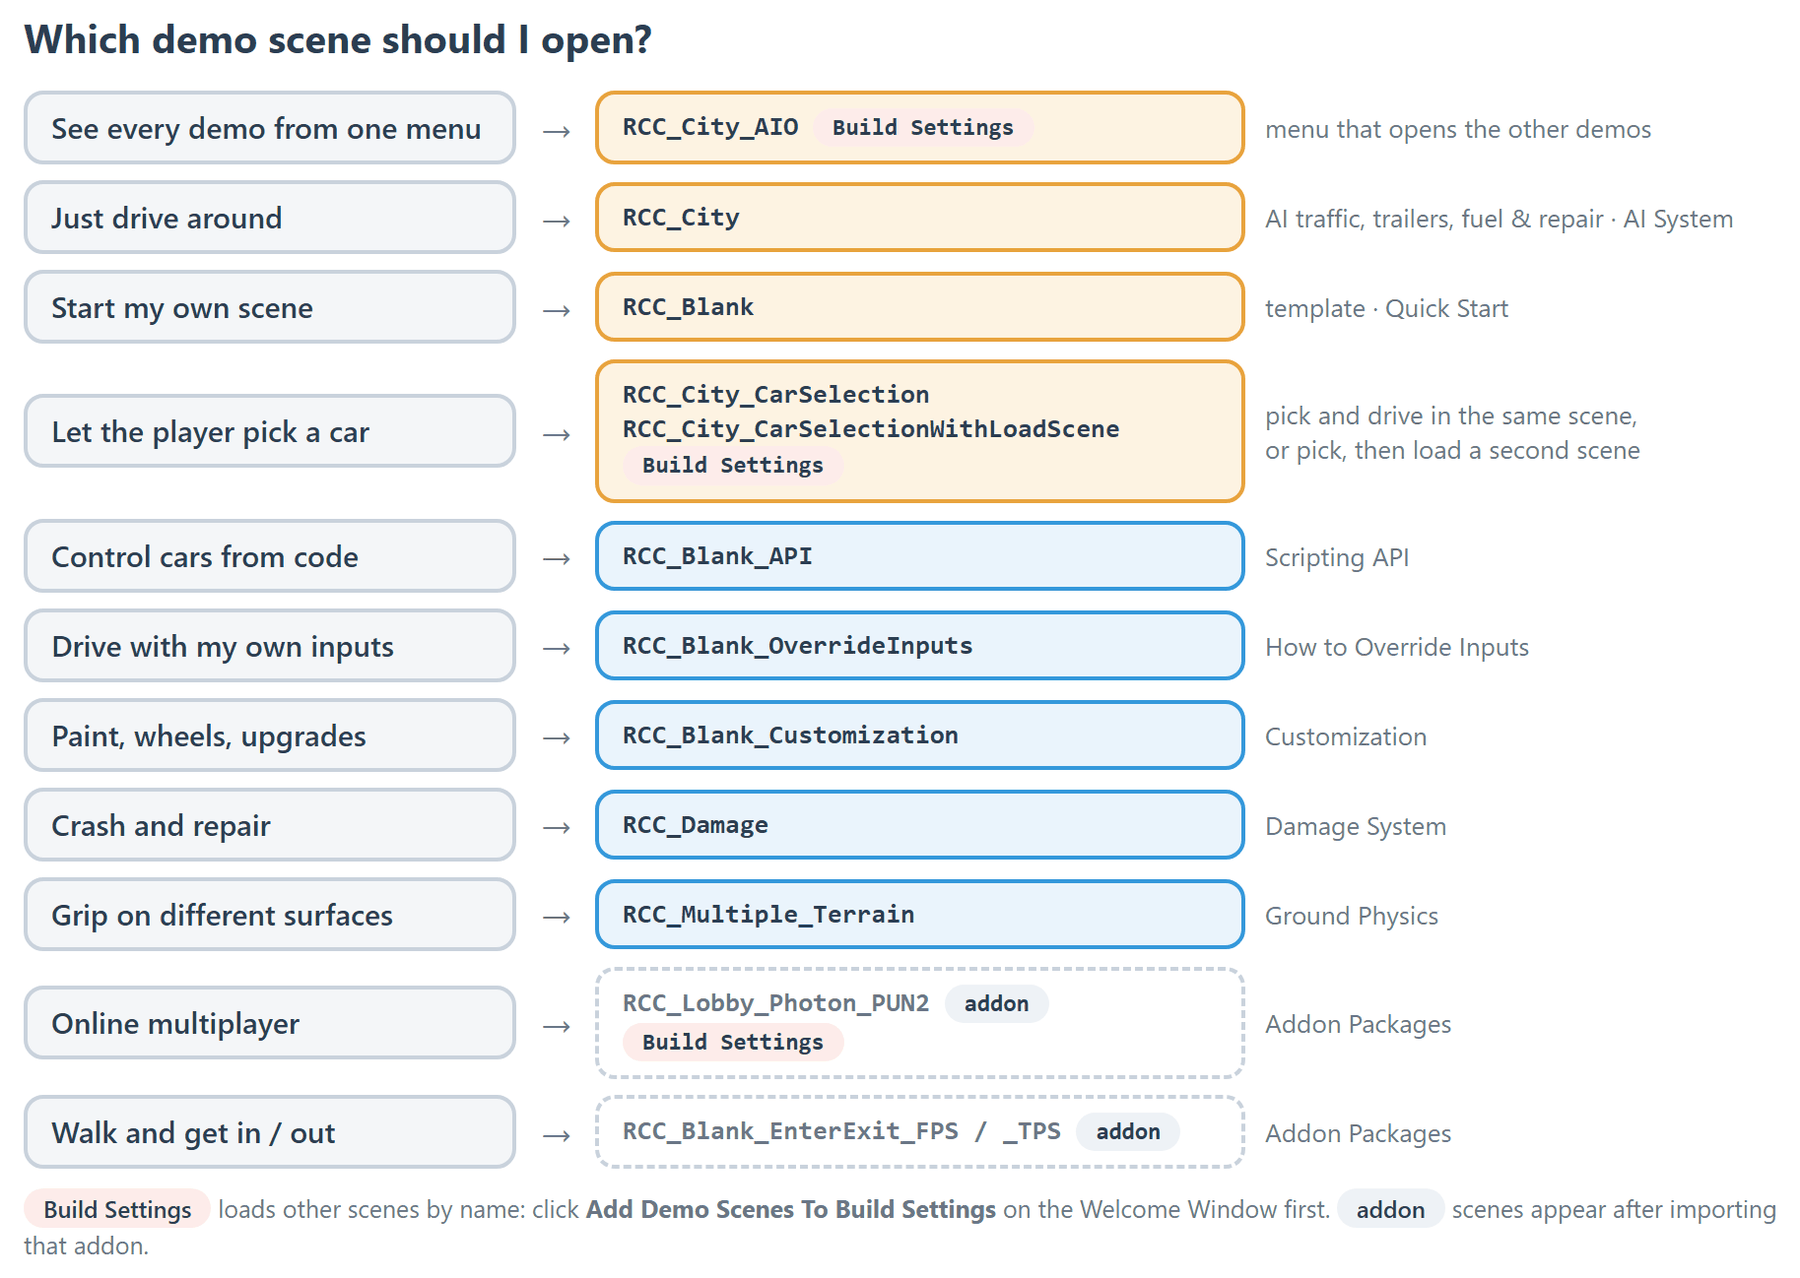
| Scene | What it shows | Needs |
|---|---|---|
RCC_City_AIO |
All-In-One launcher with a menu that opens every other demo | All demo scenes in Build Settings |
RCC_City |
City with parked vehicles, AI traffic, trailers, fuel and repair stations | — |
RCC_City_CarSelection |
Choose a car, then drive it in the same scene | — |
RCC_City_CarSelectionWithLoadScene |
Choose a car, then load a second scene | RCC_City_CarSelectionWithLoadedScene in Build Settings |
RCC_City_CarSelectionWithLoadedScene |
Spawns the car you chose in the previous scene | Run it from the scene above |
RCC_Blank |
Minimal starter scene with one vehicle | — |
RCC_Blank_API |
Buttons that call the static RCC API |
— |
RCC_Blank_OverrideInputs |
UI sliders drive the car through input override | — |
RCC_Blank_Customization |
Garage that opens the customization menu | — |
RCC_Damage |
Crash hazards, spike strip, repair station, teleporter | — |
RCC_Multiple_Terrain |
Four terrains with different ground physics | — |
RCC_Lobby_Photon_PUN2, RCC_City_Photon_PUN2 |
Online multiplayer | Photon PUN 2 and the Photon add-on |
RCC_Blank_EnterExit_FPS, RCC_Blank_EnterExit_TPS |
Getting in and out of vehicles on foot | Enter-Exit add-on |
The Dashboard Canvas in the Demos
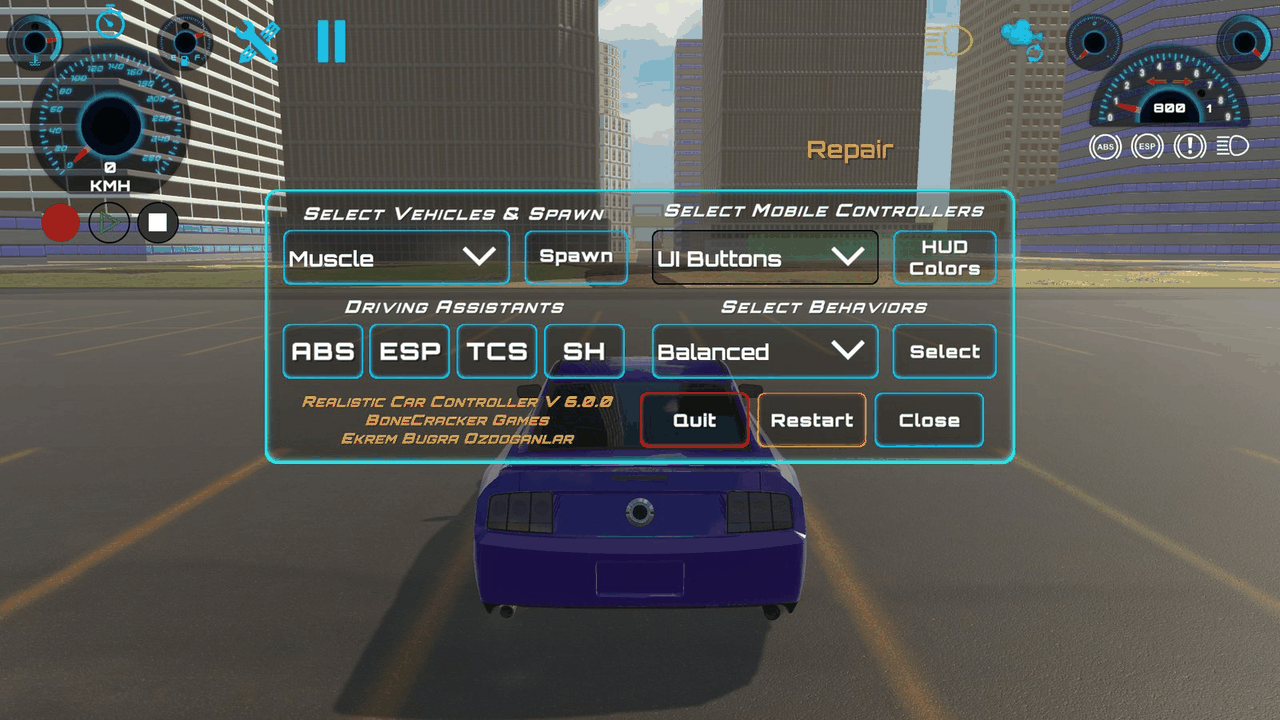
Most demos use Prefabs/UI/RCC_Canvas.prefab, the dashboard canvas. Its Options panel has these demo controls, run by Scripts/Others/RCC_Demo.cs:
- Select Vehicles & Spawn: replaces your vehicle with the one you pick.
- Select Behaviors: applies a behavior preset (Balanced, Racing, Drift, Semi Arcade, Fun) with
RCC.SetBehavior. See Behavior Presets. - Driving Assistants: ABS, ESP, TCS and SH (steering helper) turn that assist on or off on the player vehicle.
- HUD Colors: opens RGB sliders that tint the dashboard gauges.
- Select Mobile Controllers: sets the touch control type (UI Buttons, Accelerometer, Steering Wheel, Joystick). See Mobile Setup.
- Restart and Quit.
RCC_City_AIO — All-In-One Launcher
A city backdrop with the RCC_Canvas (AIO) menu. A Muscle car drives the waypoint loop as AI behind the menu. The menu has a button for every demo, grouped as City Scenes, Sandbox / API, Enter / Exit and Photon Multiplayer. It also has a Controls page.
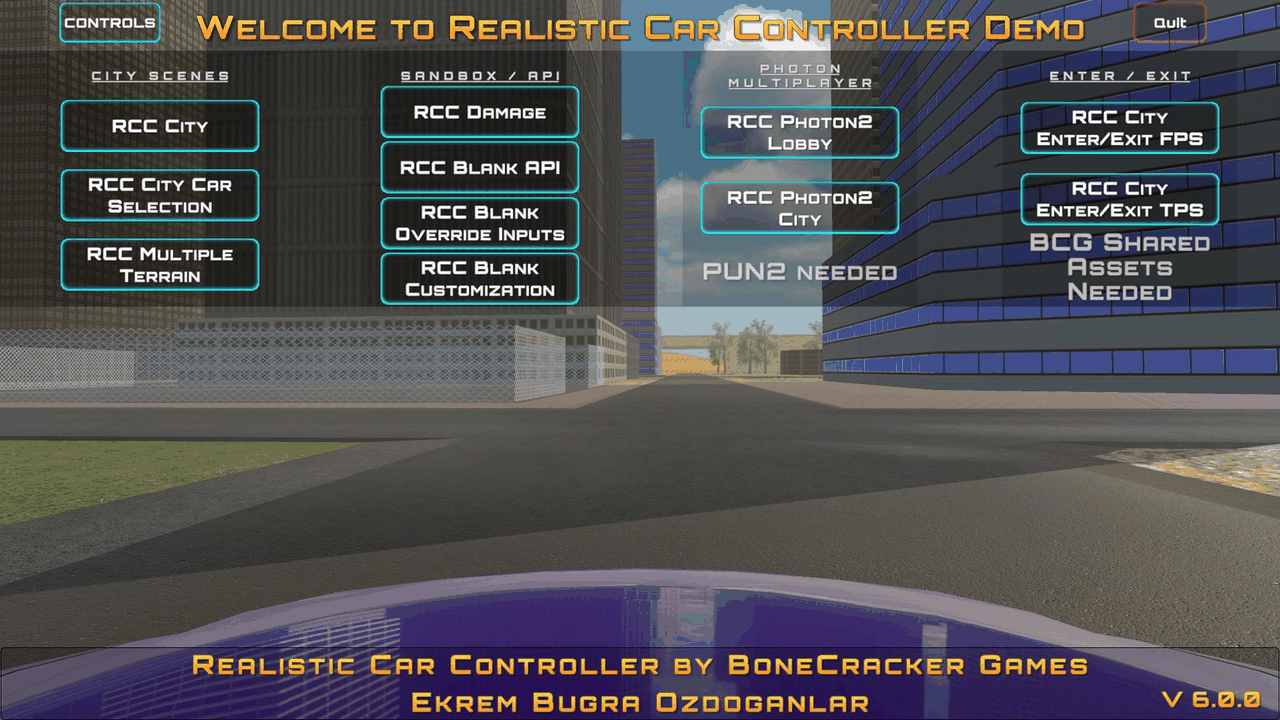
- What to try: open each demo from the menu. The menu stays loaded (
DontDestroyOnLoad), so you can come back to it. - Buttons disabled? The Enter / Exit and Photon buttons are disabled until you import those add-ons.
- Scripts to read:
Scripts/Others/RCC_AIO.cs.LoadLevel(string)loads a scene by name.
RCC_City — Main Playable Scene
The city, with 10 parked demo vehicles, a Skyline (AI Chaser), a Trailer and a Small Trailer, 2 RCC_FuelStation and 2 RCC_RepairStation prefabs. An active Waypoints Container (52 waypoints) and a Brake Zones Container (8 brake zones) run the AI.
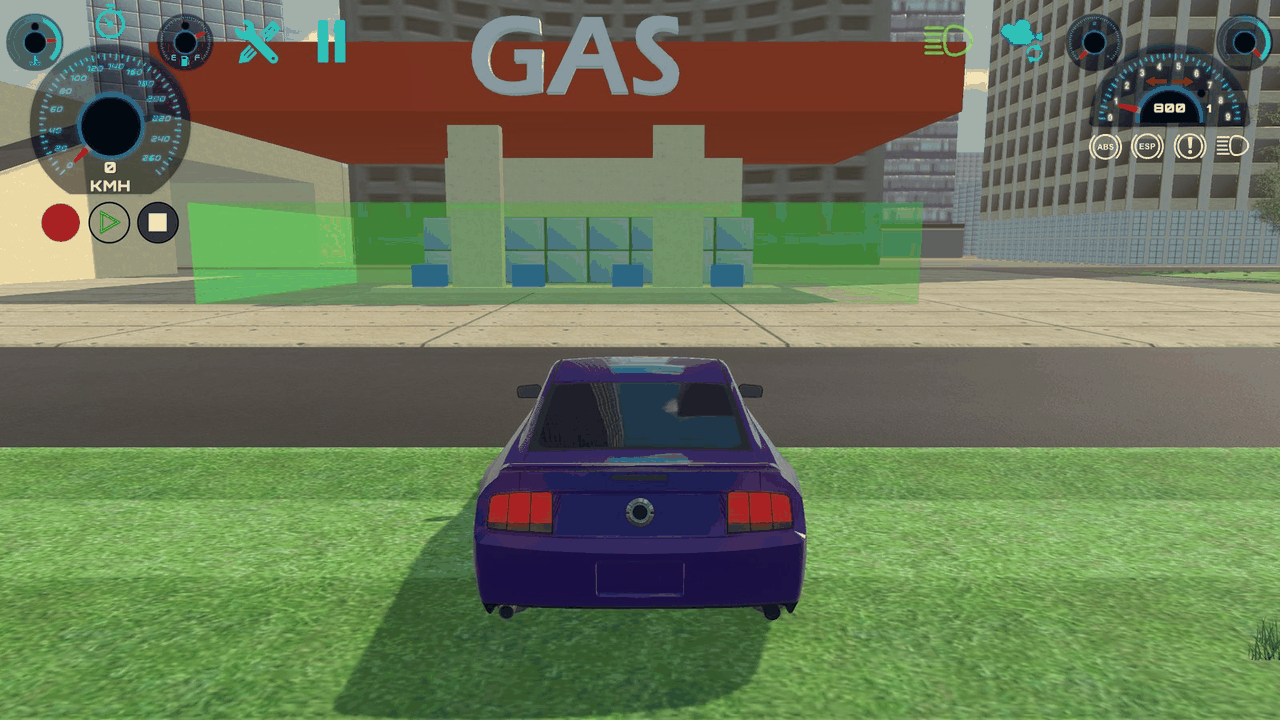
- What to try: drive through a fuel station to refuel and through a repair station to fix damage. Back up to a trailer's hitch to attach it, and press T to detach it. Change your car from Options → Select Vehicles & Spawn.
- AI:
Skyline (AI Chaser)uses Navigation Mode Follow Waypoints. Its Waypoints Container field is empty, so it finds the scene's container at start. Brake zones slow the AI before sharp turns. See AI System. - Scripts to read:
Scripts/AI/RCC_AICarController.cs,Scripts/AI/RCC_AIBrakeZone.cs,Scripts/Others/RCC_FuelStation.cs,Scripts/Others/RCC_RepairStation.cs.
RCC_City_CarSelection — Car Selection (Same Scene)
When the scene starts, RCC_CarSelectionExample spawns every vehicle in RCC_DemoVehicles with RCC.SpawnRCC. Each car starts uncontrollable with its engine off, and only the selected one is shown. RCC_CameraCarSelection orbits the camera around it.
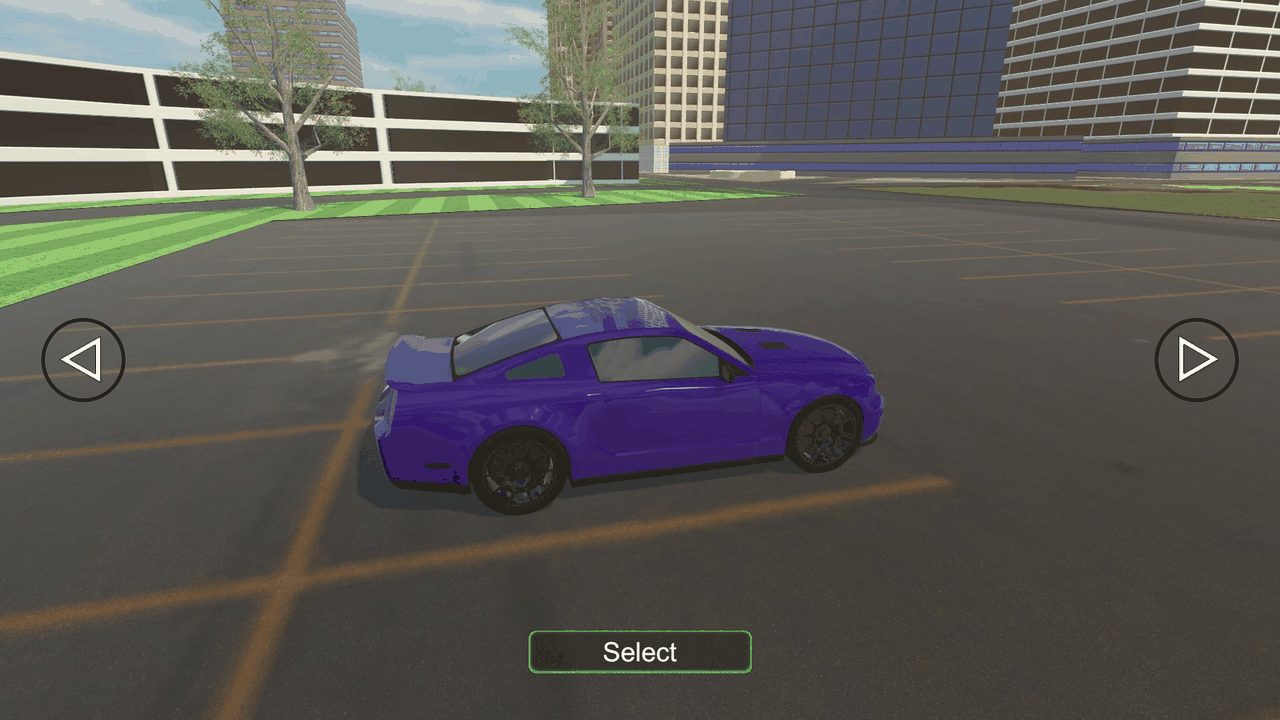
- What to try: use the arrow buttons to browse the cars. Click Select to drive the car you are viewing. It calls
RCC.RegisterPlayerVehicle, starts the engine, enables control and switches to the TPS camera. Click Change to return to the selection. - Remembered choice: your pick is saved in
PlayerPrefsunderSelectedRCCVehicle. - Scripts to read:
Scripts/Others/RCC_CarSelectionExample.cs,Scripts/Camera/RCC_CameraCarSelection.cs.
RCC_City_CarSelectionWithLoadScene / WithLoadedScene — Select, Then Load
This pair uses the same selection flow in two scenes.
RCC_City_CarSelectionWithLoadScene: theRCC_CarSelectionExampleNext Scene field is set toRCC_City_CarSelectionWithLoadedScene. Clicking Select saves your choice, then loads that scene withSceneManager.LoadScene.RCC_City_CarSelectionWithLoadedScene:RCC_SpawnerreadsSelectedRCCVehiclefromPlayerPrefs. It spawns that vehicle at its own position as a controllable player vehicle with the engine running.- Scripts to read:
Scripts/Others/RCC_CarSelectionExample.cs,Scripts/Others/RCC_Spawner.cs.
RCC_Blank — Starter Scene
The smallest working scene: ground, a directional light, RCC_SceneManager, RCC_Camera, RCC_Canvas, the cinematic and fixed cameras, and one Skyline vehicle.
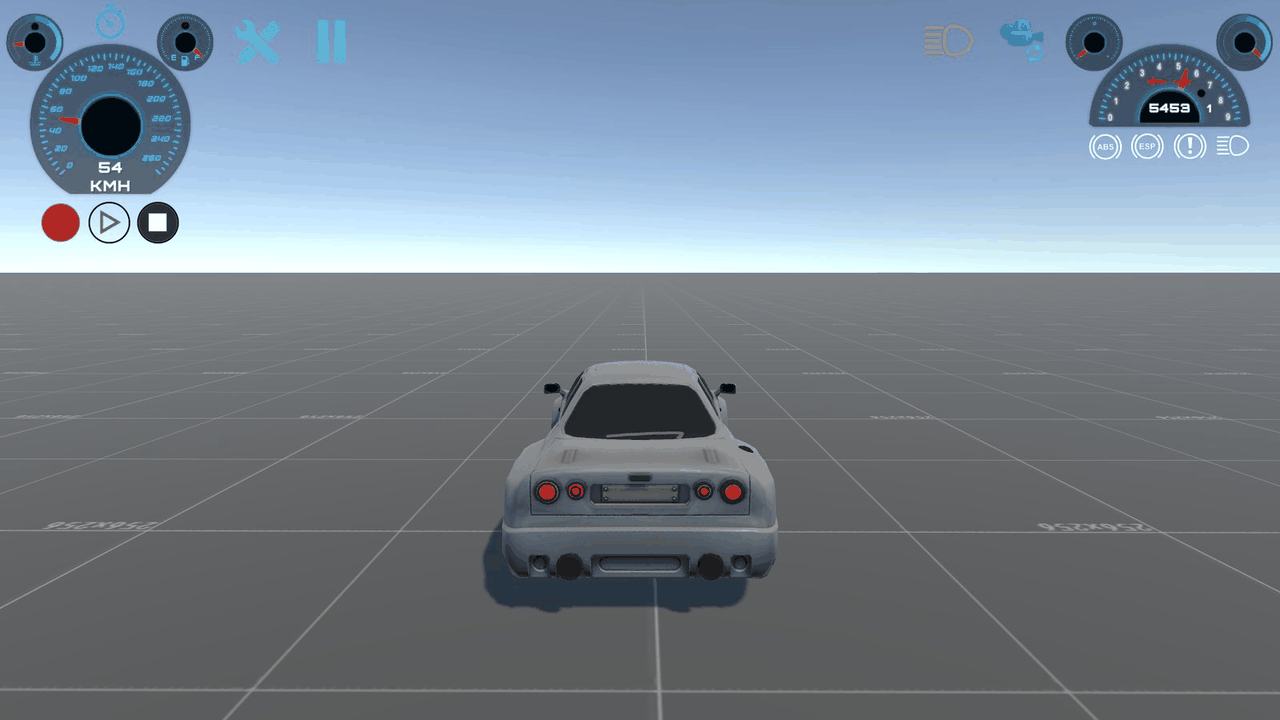
- What to try: use it as a template. Save a copy, then add your own environment and vehicles.
- See also: Quick Start.
RCC_Blank_API — Scripting API Buttons
The RCC_Canvas (API) buttons call methods on the RCC_API_Example object (RCC_APIExample). Each button calls one static RCC method:
| Button | Method in RCC_APIExample |
Calls |
|---|---|---|
| Spawn Vehicle | Spawn() |
RCC.SpawnRCC(...) |
| Set Player | SetPlayer() |
RCC.RegisterPlayerVehicle(vehicle) |
| Enable Control / Disable Control | SetControl(bool) |
RCC.SetControl(vehicle, bool) |
| Start Engine / Kill Engine | SetEngine(bool) |
RCC.SetEngine(vehicle, bool) |
| Reset Player | DeRegisterPlayer() |
RCC.DeRegisterPlayerVehicle() |
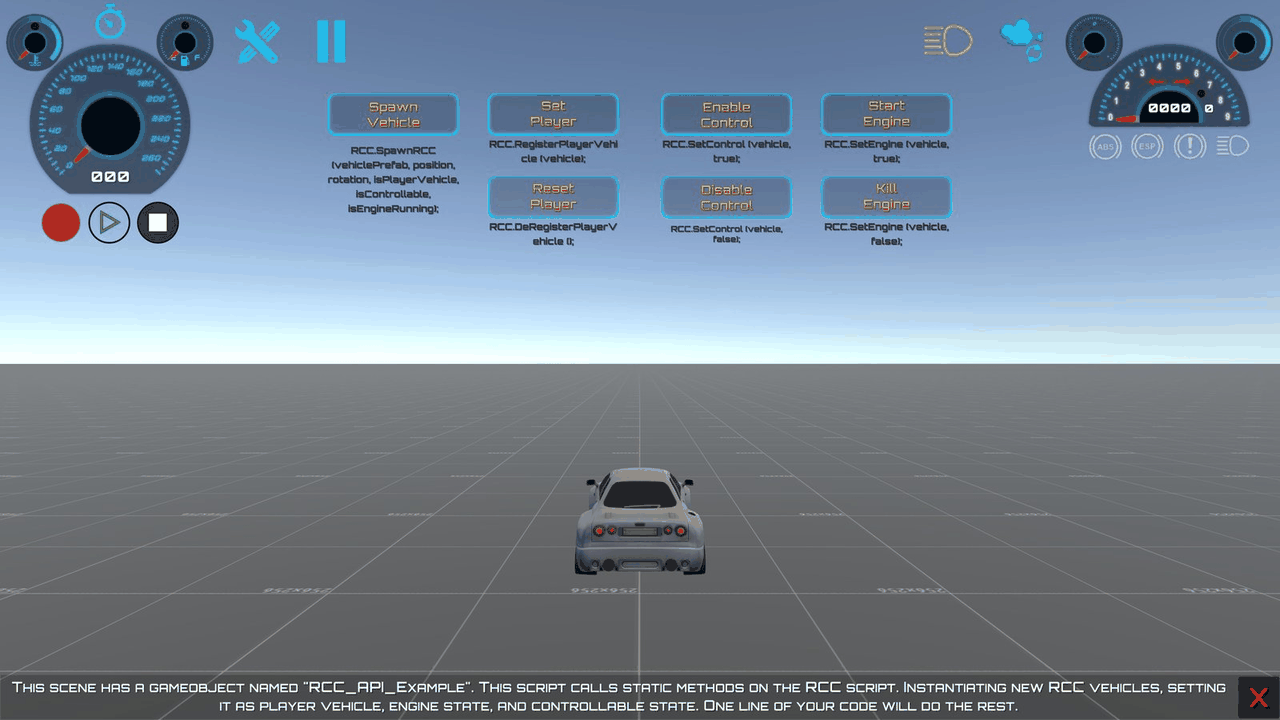
- What to try: click Spawn Vehicle. In this scene the Skyline spawns as a non-player car, uncontrollable, with its engine off. Then click Set Player, Enable Control and Start Engine to drive it. Spawn Vehicle works only once and disables itself after the first click.
- Using the canvas in your own scene: the buttons target the scene object, not the prefab. If you copy
RCC_Canvas (API)into your own scene, add anRCC_APIExampleand point each button's OnClick at it. - Scripts to read:
Scripts/Others/RCC_APIExample.cs. See Scripting API.
RCC_Blank_OverrideInputs — Drive With UI Sliders
The RCC_Canvas (OverrideInputs) panel has five sliders: Throttle, Brake, Steering, Handbrake and NOS. It also has Enable Override and Disable Override buttons. The vehicle is an M3_E46_New.
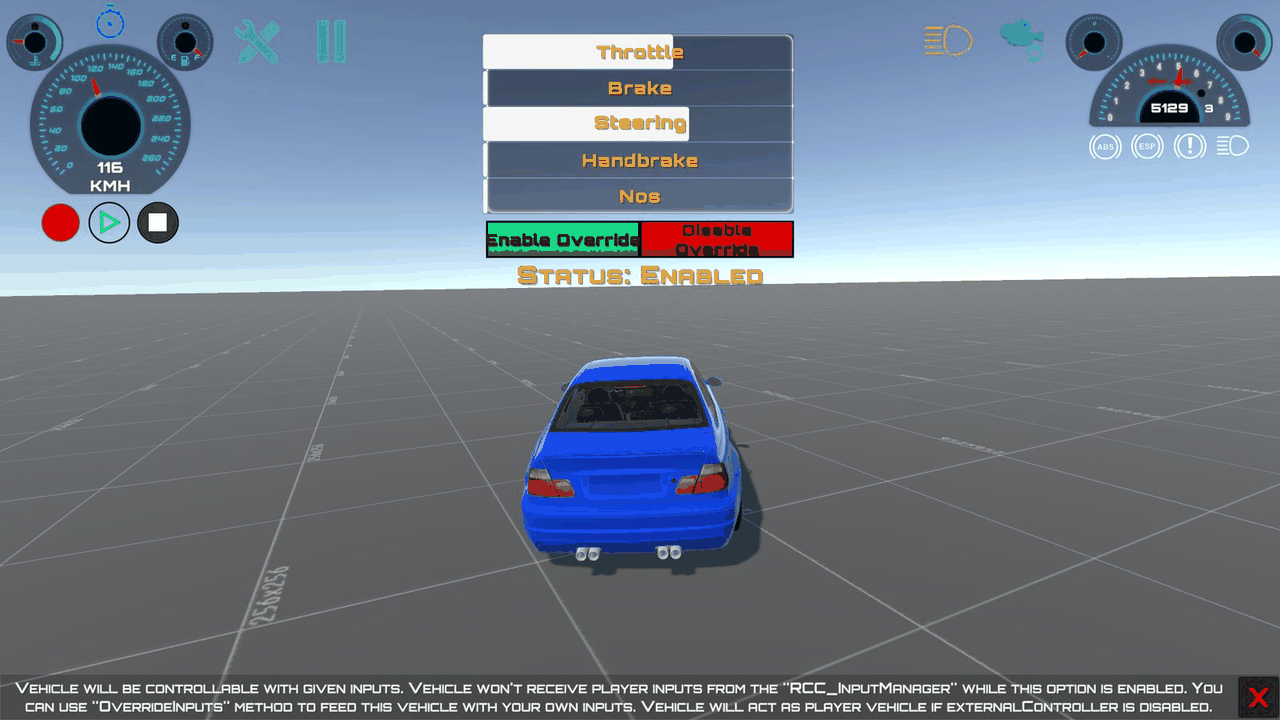
- What to try: click Enable Override, then move the sliders. The car ignores the keyboard and follows the sliders. Click Disable Override to return control to the player.
- How it works: every frame,
RCC_OverrideInputsExamplecopies the slider values into anRCC_Inputsand passes it toOverrideInputs(...)on the active player vehicle.DisableOverrideInputs()ends the override. - Scripts to read:
Scripts/Others/RCC_OverrideInputsExample.cs. See How to Override Inputs.
RCC_Blank_Customization — Garage
You drive a Muscle car in a garage. Drive into the RCC_CustomizationTrigger: RCC_CustomizationDemo moves the car to the customization spot, switches to the showroom camera and opens the customization menu on RCC_Canvas. The menu covers paint and other colors, wheels, upgrades, and tuning (suspension, camber, driving assistants). Closing the menu gives the car back to you. The trigger re-arms once you drive more than 20 m away.
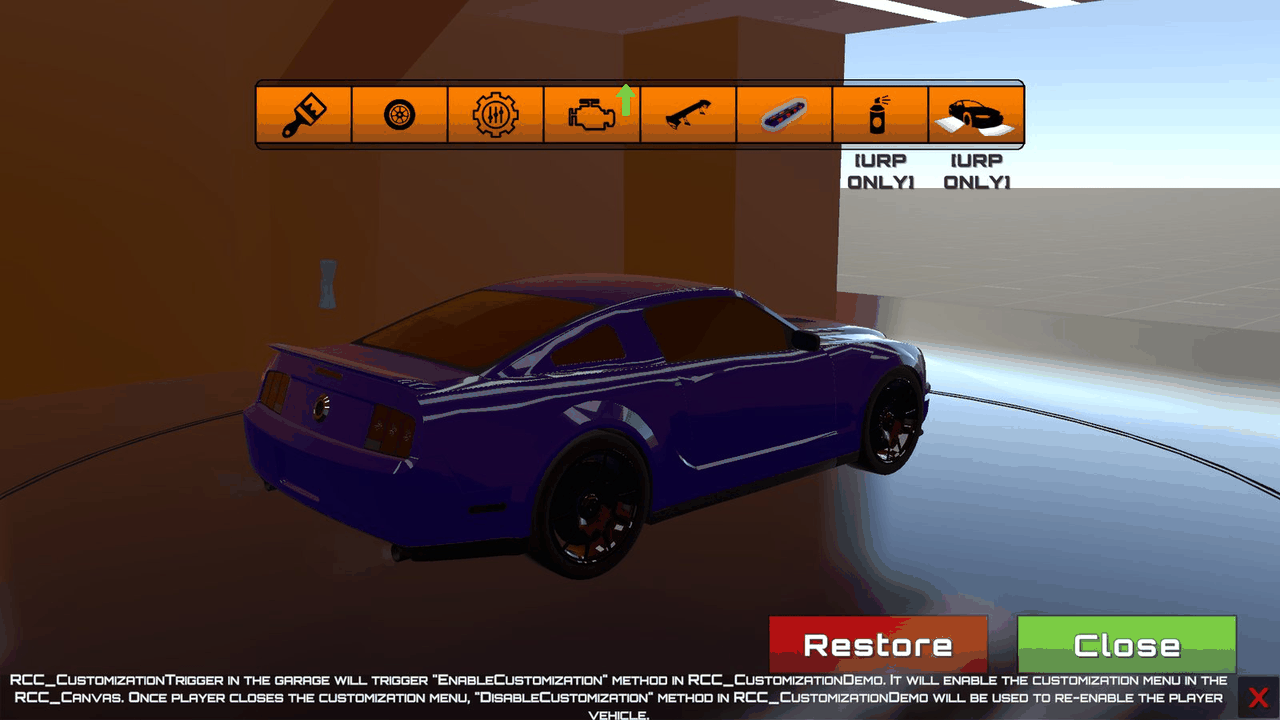
- Saved changes: the vehicle's
RCC_Customizersaves your changes toPlayerPrefs. - Scripts to read:
Scripts/Customization/RCC_CustomizationTrigger.cs,Scripts/Customization/RCC_CustomizationDemo.cs,Scripts/Customization/RCC_Customizer.cs. See Customization.
RCC_Damage — Damage Test Area
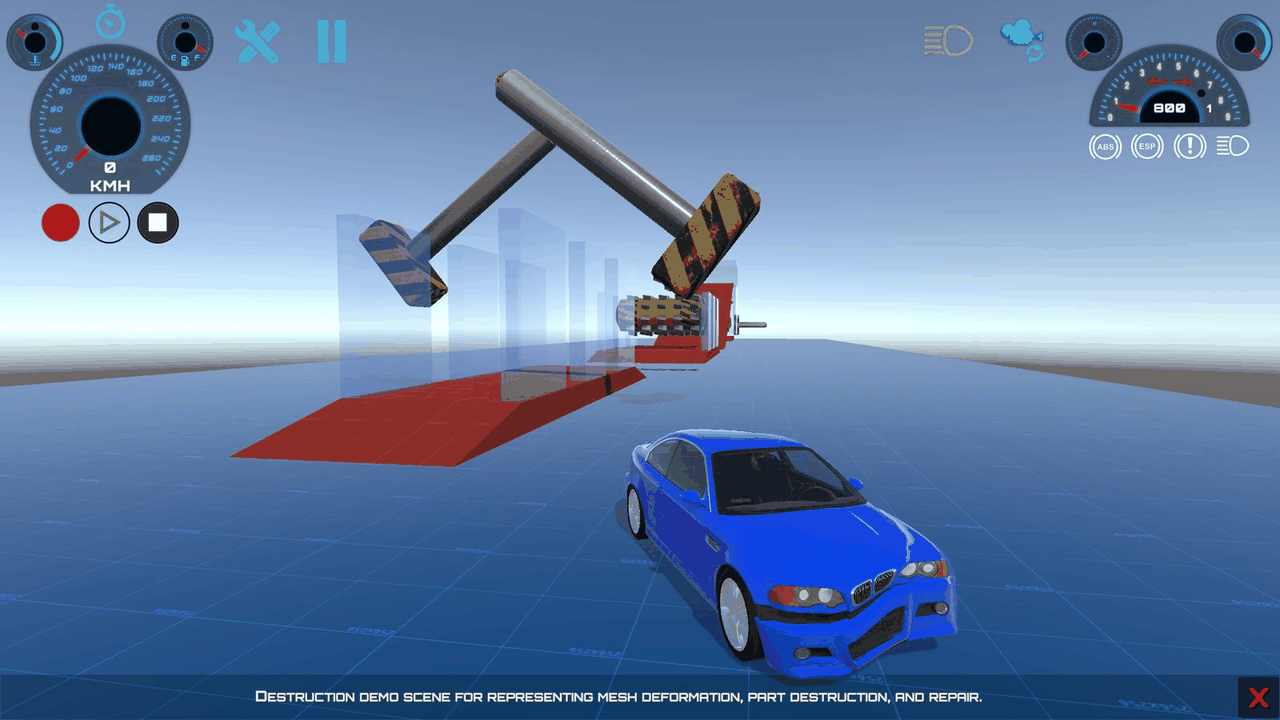
An M3_E46_New with hazards to crash into:
Crasher_1toCrasher_5: stands with moving presses, hammers and shredders (RCC_CrashPress,RCC_CrashHammer,RCC_CrashShredder).SpikeStrip: its physic material is set to deflate tires inRCC_GroundMaterials.RCC_RepairStation: repairs damage and reinflates tires.-
RCC_Teleporter: moves any vehicle that enters it to a target point. -
What to try: crash into the stands and drive over the spike strip. Watch the mesh deform, parts detach and tires go flat. Then drive into the repair station.
-
See also: Damage System.
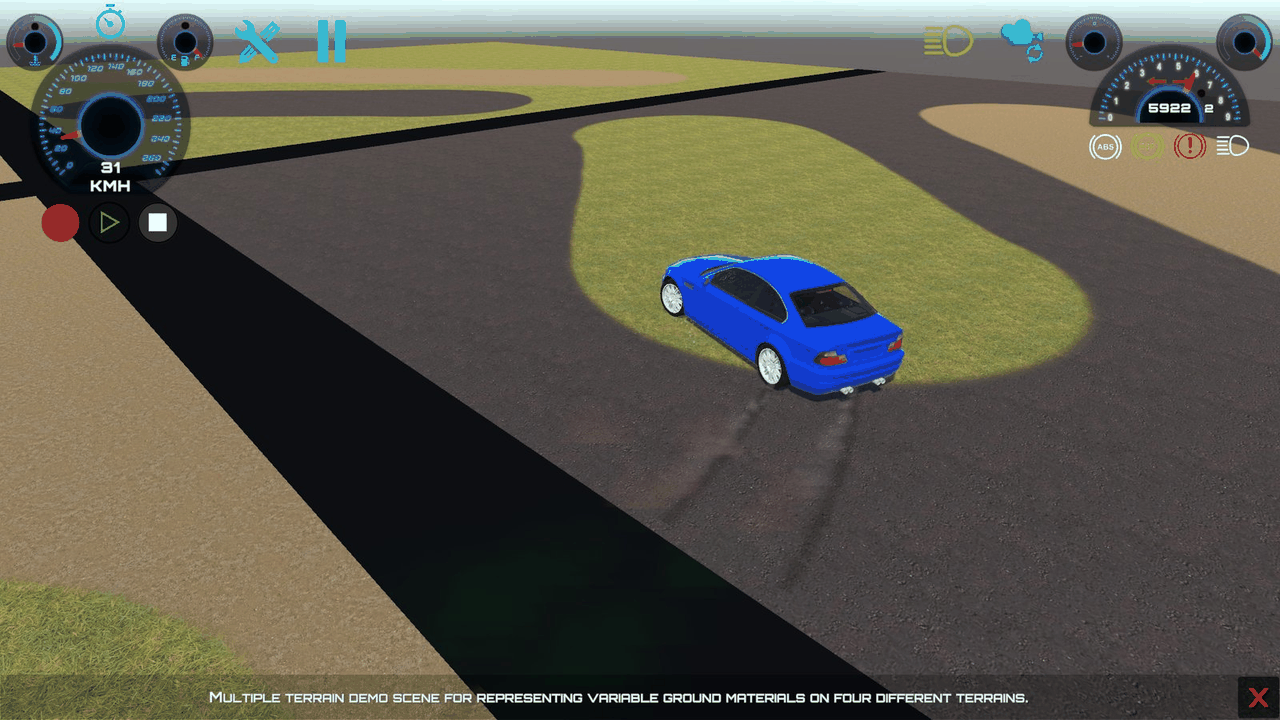
RCC_Multiple_Terrain — Ground Physics
Four terrains (Terrain_1 to Terrain_4), each with its own physic material (RCC_TerrainPhysics1 to RCC_TerrainPhysics4). RCC_GroundMaterials maps these materials and their texture layers to grip, particles, sound and skidmarks.
-
What to try: drive across the terrain textures and notice the changes in grip, tire sound, dust and skidmarks.
-
See also: Ground Physics.
Add-on Demo Scenes
These scenes come with the add-on packages. Import the add-ons from Welcome Window → Addons. For setup, see Add-on Packages.
Photon PUN 2: RCC_Lobby_Photon_PUN2 and RCC_City_Photon_PUN2
- Needs: Photon PUN 2 in your project, a Photon AppId, and the RCC Photon add-on. After import, the scenes are in
Demo Scenes/RCC Photon Scenes/. - What to try: in the lobby, enter a nickname and click Connect. Then Create Room, or Browse Rooms to join one. Creating a room loads
RCC_City_Photon_PUN2through Photon, soRCC_City_Photon_PUN2must be in Build Settings. - Scripts to read:
Scripts/Photon PUN 2/RCC_PhotonManager.cs.
Enter-Exit: RCC_Blank_EnterExit_FPS and RCC_Blank_EnterExit_TPS
- Needs: the Enter-Exit add-on. After import, the scenes are in
Assets/BCG Shared Assets/Demo Scenes/. - What's in them: each scene has a
Skylineand a character:RCC_FPSCharacter(first person) orRCC_TPSCharacter(third person). - Controls: move with WASD or the Left Stick, look with the mouse or the Right Stick. Stand close to the car, face it, and press Tab (gamepad Start) to get in. Press it again to get out.