Camera System
This page covers the RCC Camera: adding it to a scene, its six modes, the TPS and orbit settings, occlusion, hood and wheel camera mounts, and switching modes from code.
Quick Start
- Open your scene. It needs a vehicle registered as the player vehicle (see Quick Start).
- Select Tools → BoneCracker Games → Realistic Car Controller → Create → Cameras → Add RCC Camera To Scene.
- If a Disable Other Cameras? dialog lists your old Main Camera or AudioListener, click Disable.
- Press Play. The camera follows the player vehicle. Press C to cycle camera modes.
Changed in V6: You no longer have to delete Unity's Main Camera. Add RCC Camera To Scene offers to disable the other enabled cameras tagged
MainCameraand the other AudioListeners. Nothing is deleted, and Ctrl+Z undoes the change. Cameras that render to a texture or belong to a vehicle or an Enter-Exit character are left alone.
If the scene already has an RCC Camera, the menu shows Scene has RCC Camera already! and selects the existing camera instead.
How It Works
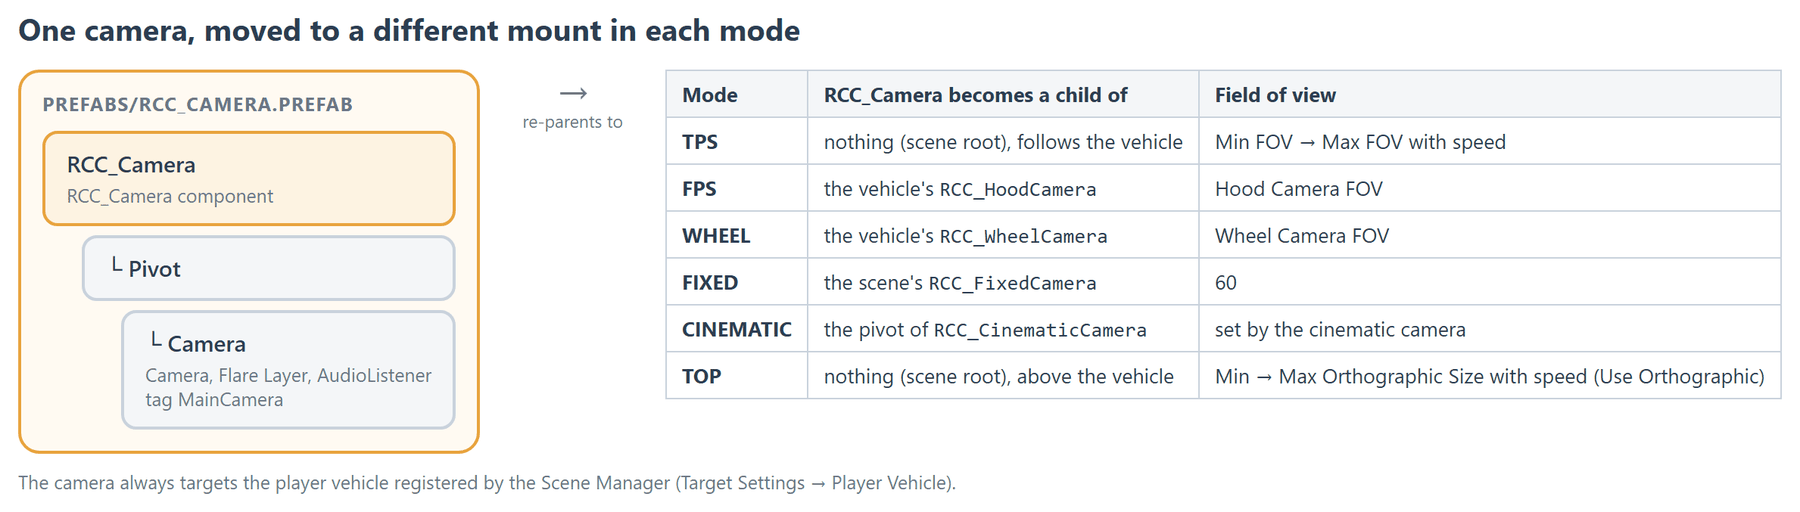
One camera handles every mode. RCC_Camera re-parents itself to the right mount for each mode, such as a hood camera, a wheel camera or the fixed camera. The prefab (Prefabs/RCC_Camera.prefab) has this hierarchy:
RCC_Camera        (RCC_Camera component)
└── Pivot
    └── Camera    (Camera, Flare Layer, AudioListener; tag MainCamera)
The camera targets whatever vehicle the Scene Manager registers as the player vehicle. The Target Settings → Player Vehicle field shows the current target.
Camera Modes
Pressing C cycles through the modes in this order: TPS → FPS → WHEEL → FIXED → CINEMATIC → TOP → TPS. Any mode that isn't set up is skipped. See Input System for the gamepad and wheel bindings.
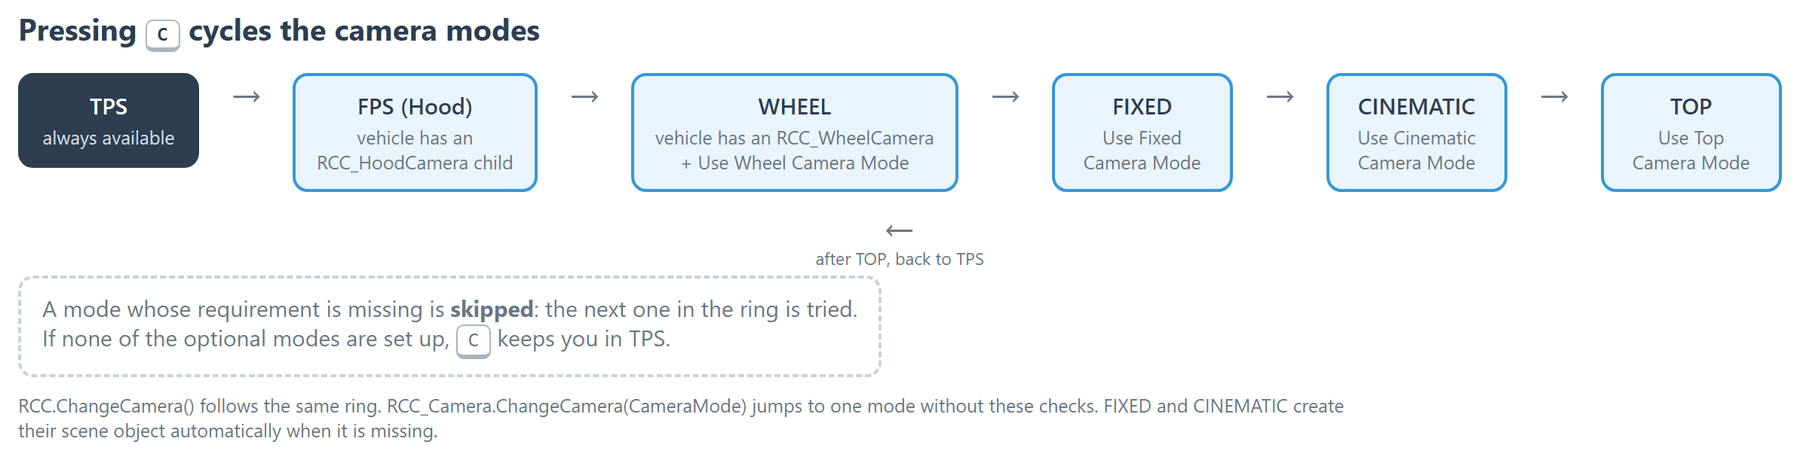
| Mode | What it shows | Requirement |
|---|---|---|
| TPS | A chase camera behind the vehicle. | Always available. |
| FPS (Hood) | The view from the vehicle's hood or driver position. | The vehicle has a child with RCC_HoodCamera. |
| WHEEL | A low view from a mount near a wheel. | The vehicle has a child with RCC_WheelCamera, and Use Wheel Camera Mode is on. |
| FIXED | A stationary camera that tracks the car and moves ahead of it again once the car is farther than Max Distance (shipped 50). | Use Fixed Camera Mode is on. If the scene has no RCC_FixedCamera, one is created automatically. |
| CINEMATIC | Animated shots around the vehicle. | Use Cinematic Camera Mode is on. For animated shots, drag Prefabs/RCC_CinematicCamera.prefab into the scene. Without it, RCC creates an empty RCC_CinematicCamera that only gives a static view from 10 m in front of the car. |
| TOP | An angled overhead view, orthographic by default. | Use Top Camera Mode is on. It is on in the shipped prefab. |
All 12 demo vehicles in Prefabs/Vehicles/ have a hood camera. All except F1 have a wheel camera.
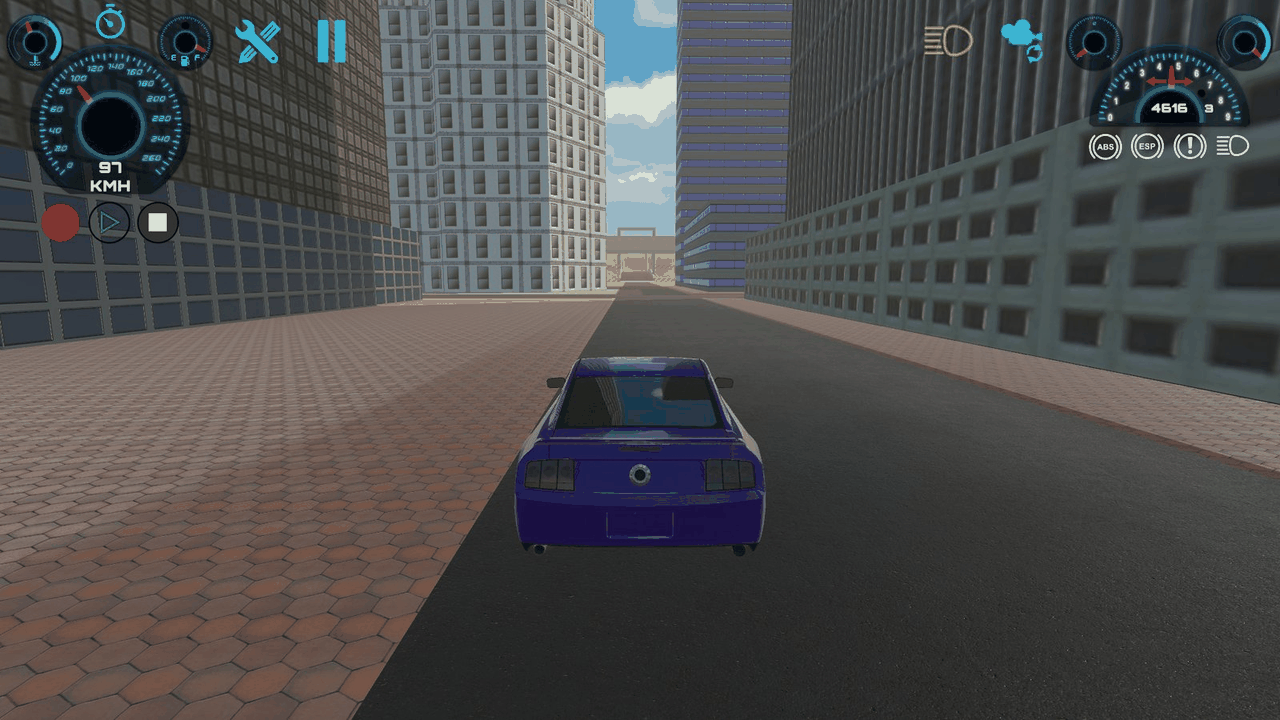
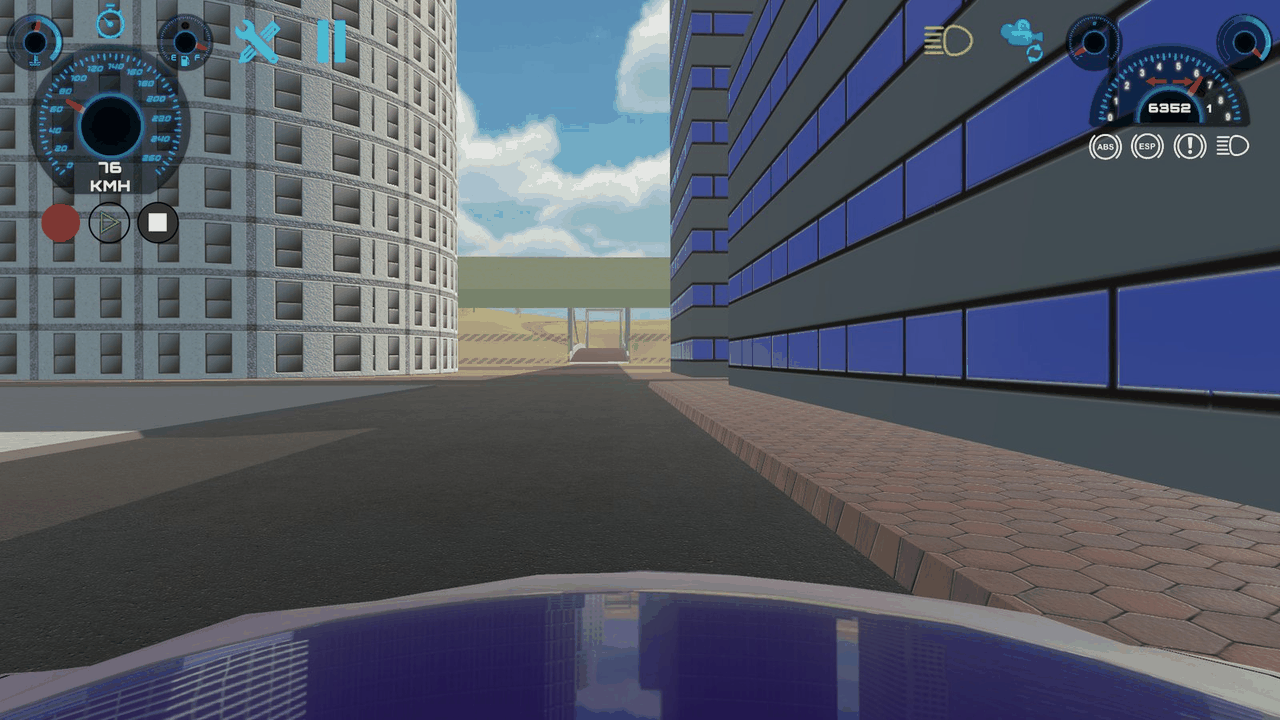
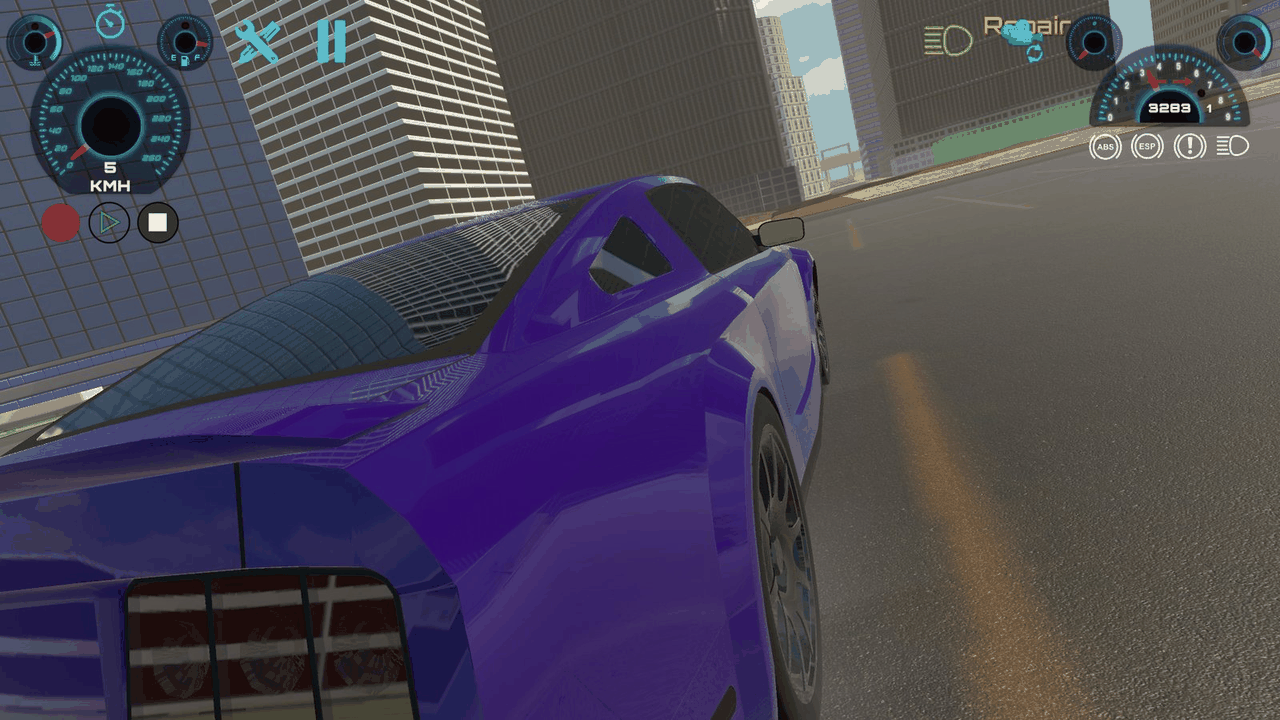
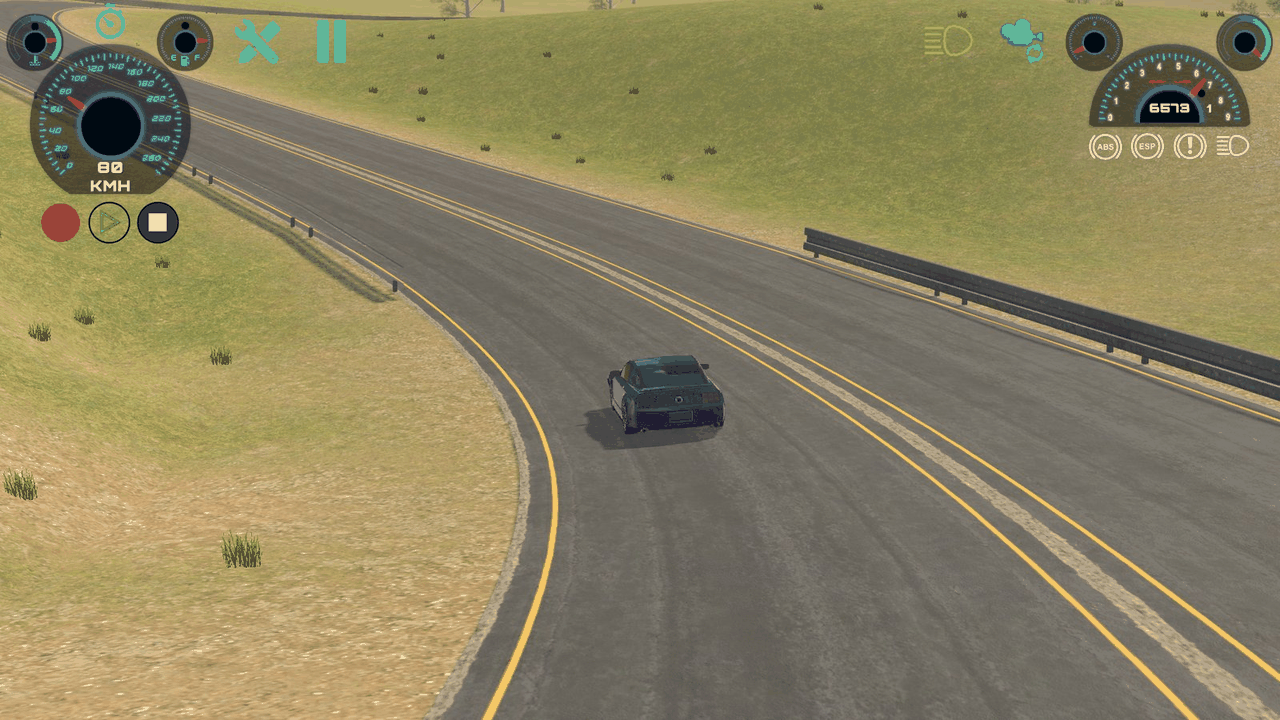
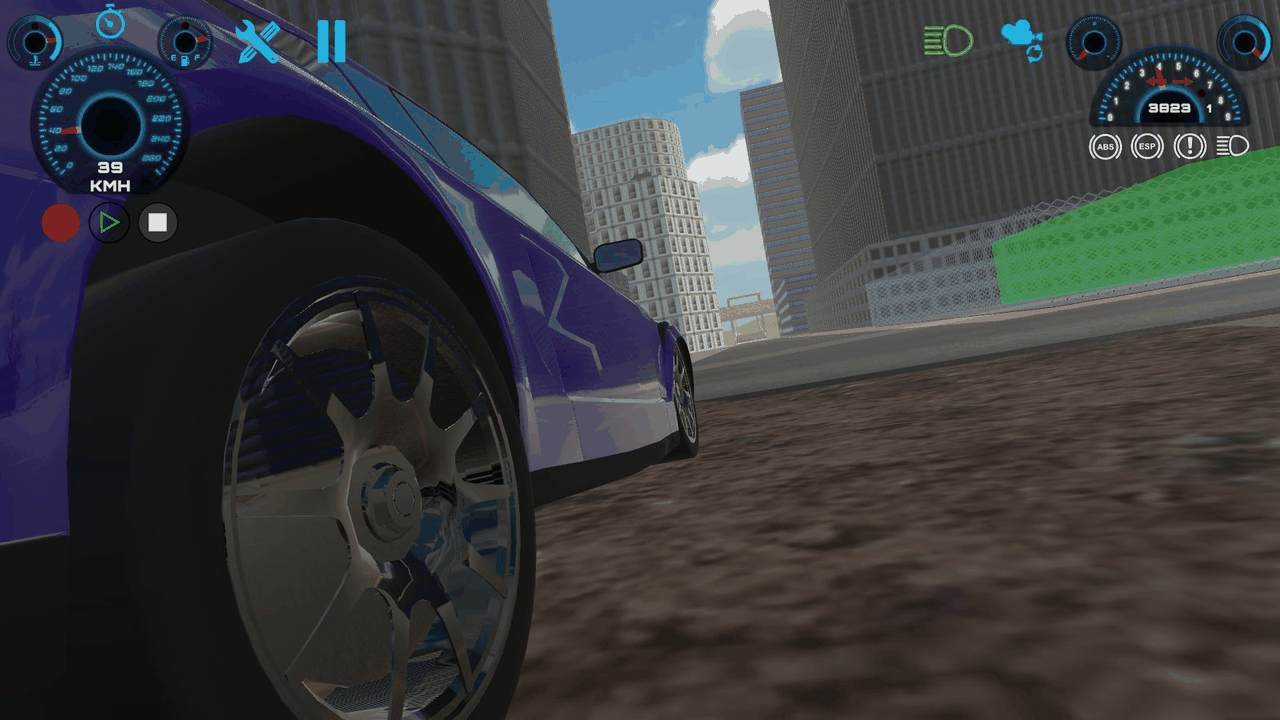
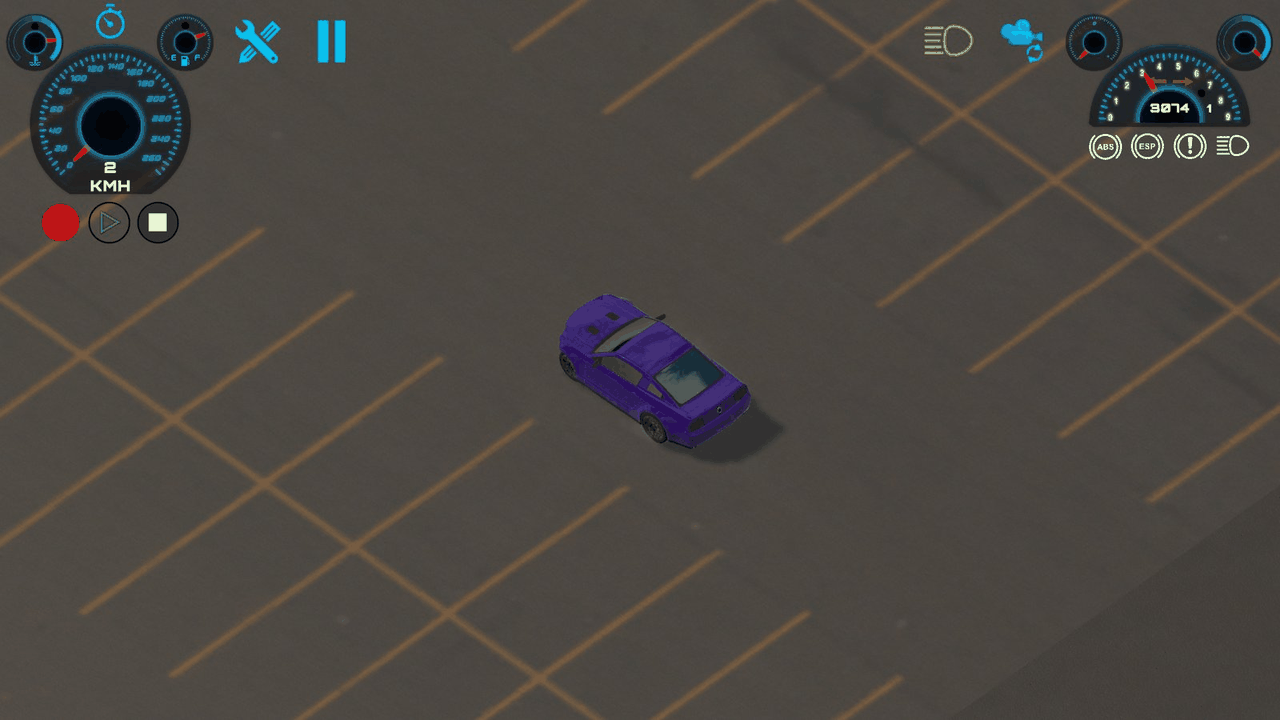
Look Back (hold B) flips the TPS camera to face backwards. Use Auto Change Camera (shipped off) cycles the mode automatically every 10 seconds.
TPS Camera Settings
These are in the TPS Camera Settings foldout of the RCC_Camera Inspector. The defaults are the values in the shipped prefab.
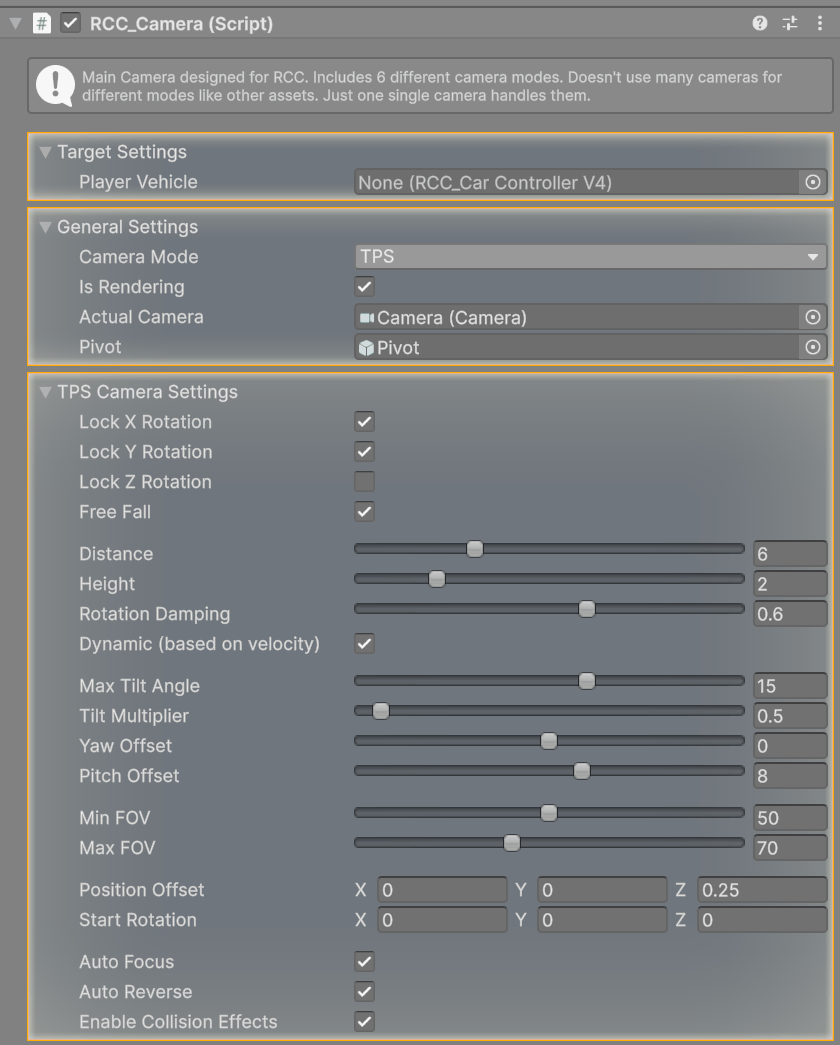
| Inspector label | What it does | Shipped default | Range |
|---|---|---|---|
| Lock X Rotation | The camera pitch follows the vehicle's pitch. | On | — |
| Lock Y Rotation | The camera yaw follows the vehicle's yaw. | On | — |
| Lock Z Rotation | The camera roll follows the vehicle's roll. | Off | — |
| Free Fall | Stops following the vehicle's rotation while the vehicle is airborne. | On | — |
| Distance | How far behind the vehicle the camera sits. Auto Focus overrides it. | 6 | 0 – 20 |
| Height | How high above the vehicle the camera sits. Auto Focus overrides it. | 2 | 0 – 10 |
| Rotation Damping | How fast the camera turns to follow the vehicle. Higher is snappier. | 0.6 | 0 – 1 |
| Dynamic (based on velocity) | Moves the camera back and forth slightly with acceleration. | On | — |
| Max Tilt Angle | The largest roll tilt produced by sideways speed. | 15 | 0 – 25 |
| Tilt Multiplier | Scales the tilt. | 0.5 | 0 – 10 |
| Yaw Offset | Extra yaw angle. | 0 | -45 – 45 |
| Pitch Offset | Extra downward pitch angle. | 8 | -45 – 45 |
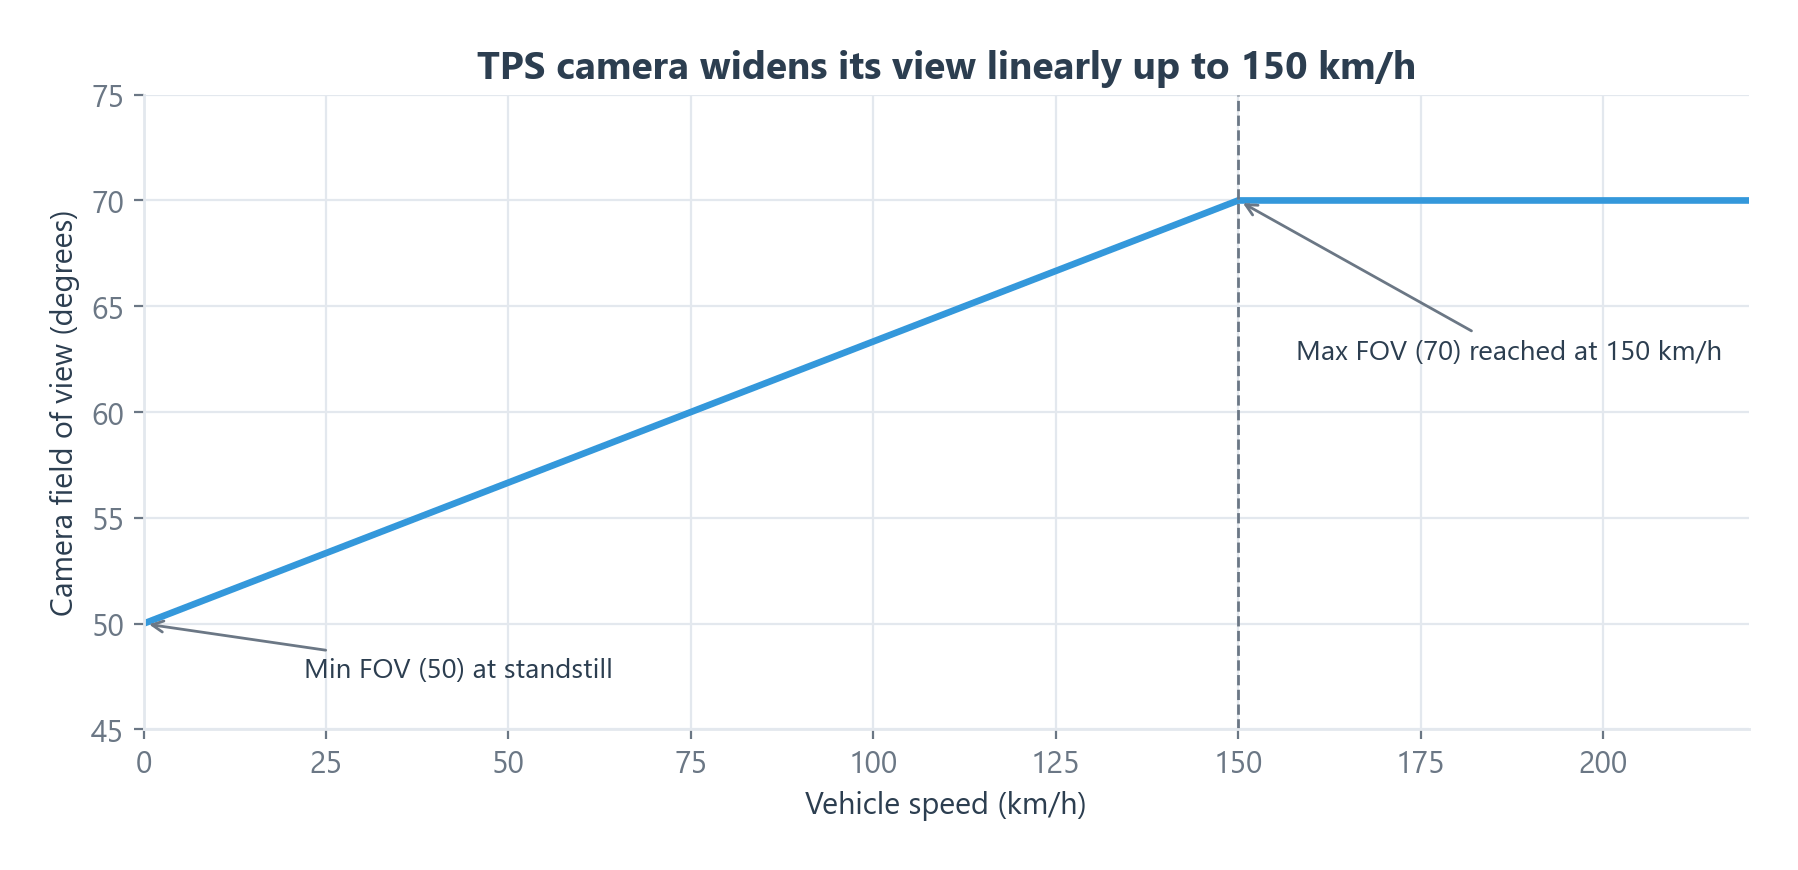
| Min FOV | Field of view at standstill. | 50 | 10 – 90 |
| Max FOV | Field of view at 150 km/h and above. | 70 | 10 – 160 |
| Position Offset | Offsets the follow point, in vehicle space. | (0, 0, 0.25) | — |
| Auto Focus | Sets Distance and Height from the vehicle's size over 3 seconds whenever the target changes. Turn it off to use your own values. | On | — |
| Auto Reverse | While the vehicle reverses, the camera swings to the front and looks in the direction of travel. | On | — |
| Enable Collision Effects | Shakes the camera and briefly changes its FOV on hard impacts. TPS mode only. | On | — |
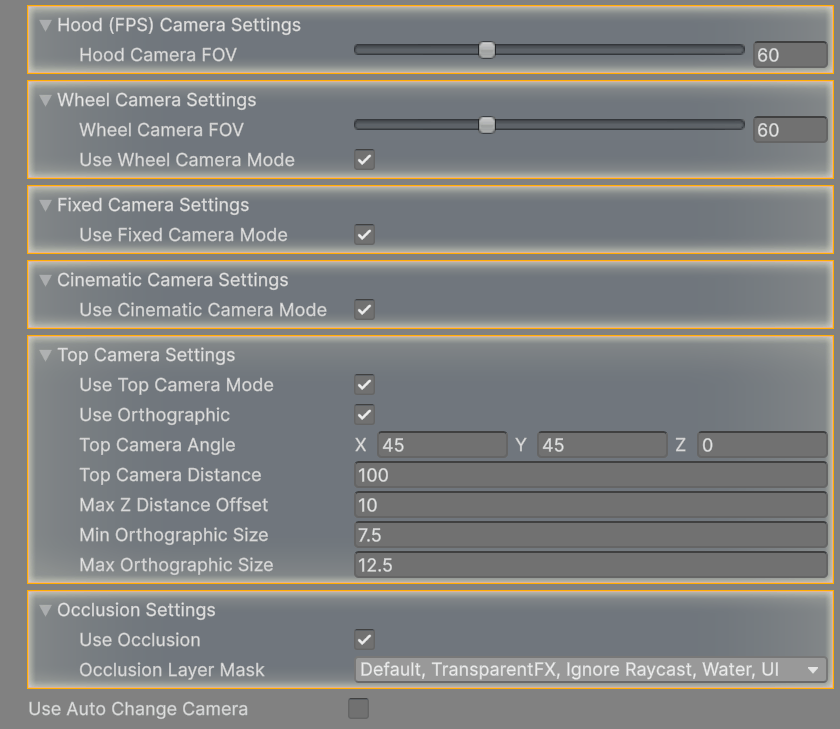
Other foldouts:
| Foldout → Inspector label | What it does | Shipped default |
|---|---|---|
| Hood (FPS) Camera Settings → Hood Camera FOV | Field of view in hood mode. | 60 |
| Wheel Camera Settings → Wheel Camera FOV | Field of view in wheel mode. | 60 |
| Top Camera Settings → Use Orthographic | Renders the top view orthographically. | On |
| Top Camera Settings → Top Camera Angle | Rotation of the top view. | (45, 45, 0) |
| Top Camera Settings → Top Camera Distance | Distance from the vehicle. | 100 |
| Top Camera Settings → Max Z Distance Offset | How far the view shifts ahead of the vehicle as speed rises. | 10 |
| Top Camera Settings → Min / Max Orthographic Size | The view size, which grows with speed. | 7.5 / 12.5 |
Orbit
Players can orbit the camera in TPS and hood modes:
- Mouse or touch: drag on the screen. The drag is picked up by the Drag (Orbit) panel in
Prefabs/UI/RCC_Canvas.prefab, so the scene needs the RCC Canvas (Tools → BoneCracker Games → Realistic Car Controller → Create → UI → Add RCC Canvas To Scene). - Gamepad: use the right stick. The camera recentres 2 seconds after you release the stick. Gamepad orbit is ignored while Mobile Controller Enabled is on.
New in V6: You can orbit with the gamepad right stick (the gamepad binding of the Camera/Orbit action). Turn it off with Use Gamepad Orbit.
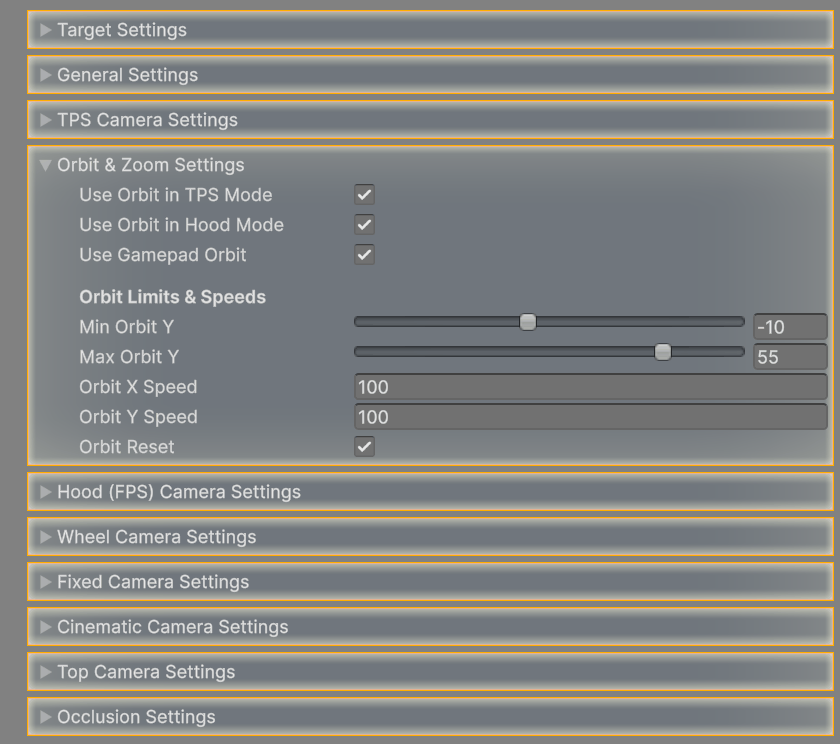
Orbit & Zoom Settings foldout:
| Inspector label | What it does | Shipped default | Range |
|---|---|---|---|
| Use Orbit in TPS Mode | Allows orbiting in TPS mode. | On | — |
| Use Orbit in Hood Mode | Allows orbiting in hood mode. | On | — |
| Use Gamepad Orbit | Allows the right stick to orbit. | On | — |
| Min Orbit Y / Max Orbit Y | Vertical orbit limits, in degrees. | -10 / 55 | -90 – 90 |
| Orbit X Speed / Orbit Y Speed | Orbit speed. | 100 / 100 | — |
| Orbit Reset | After a mouse or touch orbit, returns the camera to its default position 2 seconds after the last drag, once the vehicle is doing 25 km/h or more. | On | — |
Occlusion
With Occlusion Settings → Use Occlusion on (shipped on), the camera checks the line from the vehicle to the camera against Occlusion Layer Mask. Trigger colliders and the vehicle's own colliders are ignored. When something blocks the line:
- In TPS mode, the camera moves in front of the obstacle.
- In WHEEL and CINEMATIC modes, the camera switches back to TPS.
- In FIXED mode, the fixed camera moves to a new position.
Untick layers in Occlusion Layer Mask that shouldn't push the camera, such as foliage or small props.
Hood and Wheel Camera Setup
Hood camera:
- Select the vehicle in the scene.
- Select Tools → BoneCracker Games → Realistic Car Controller → Create → Cameras → Add Hood Camera To Vehicle.
- Move the new RCC_HoodCamera child to the driver's eye position, facing forward (+Z).
The hood camera prefab has a Rigidbody and a ConfigurableJoint. The menu connects the joint to the vehicle's Rigidbody for you.
Wheel camera:
- Select the vehicle in the scene.
- Select Tools → BoneCracker Games → Realistic Car Controller → Create → Cameras → Add Wheel Camera To Vehicle.
- Move and rotate the new WheelCamera child to where you want the view, for example next to the front-left wheel.
Each menu shows a dialog if you haven't selected an RCC vehicle, or if the vehicle already has that camera. Both menus support undo. To apply the change to every copy of the vehicle, apply it to the prefab.
Switching Modes from Code
RCC.ChangeCamera() cycles to the next available mode, which is the same as pressing C. RCC_Camera.ChangeCamera(RCC_Camera.CameraMode) jumps straight to one mode without checking whether that mode is set up.
using UnityEngine;

public class CameraModeButtons : MonoBehaviour {

    // Hook to a UI Button. Cycles to the next available mode.
    public void NextCamera() {

        RCC.ChangeCamera();

    }

    // Hook to a UI Button. Jumps straight to the top-down view.
    public void TopView() {

        RCC_Camera rccCamera = RCC_SceneManager.Instance.activePlayerCamera;

        if (rccCamera)
            rccCamera.ChangeCamera(RCC_Camera.CameraMode.TOP);

    }

}
Read the current mode with rccCamera.cameraMode.
See Also
- Input System: camera, look-back and orbit bindings
- Mobile Setup: the RCC Canvas and touch controls
- Scripting API
- Events System:
OnChangeCameraandOnLookBack - Troubleshooting