How to Install RCC
This page covers installing Realistic Car Controller V6.0.0, what RCC sets up on first import, upgrading from V5.x, and removing RCC from a project.
Requirements
| Requirement | Details |
|---|---|
| Unity | 6.0 – 6.6 |
| Render pipeline | Built-in, URP or HDRP |
| Input System package | com.unity.inputsystem. RCC is developed with 1.20.0 and shows an "Input System Update Recommended" dialog if the installed version is 1.11.0 or older. |
| Active Input Handling | Input System Package (New) or Both (Edit → Project Settings → Player → Other Settings) |
RCC does not support the legacy Input Manager.
RCC's UI uses TextMesh Pro, which comes with Unity UI (uGUI) in Unity 6. If Unity opens the TMP Importer window, click Import TMP Essentials.
Import Steps
- Install the Input System first: Window → Package Manager → Unity Registry, search
Input System, click Install. - If Unity asks to enable the new input backends, click Yes. Unity restarts.
- In the Package Manager, open My Assets and select Realistic Car Controller.
- Click Download, then Import.
- In the Import Unity Package window, keep everything checked and click Import.
RCC is imported into Assets/RealisticCarControllerV4/.
What Happens on First Import
After the scripts compile, RCC shows these in order:
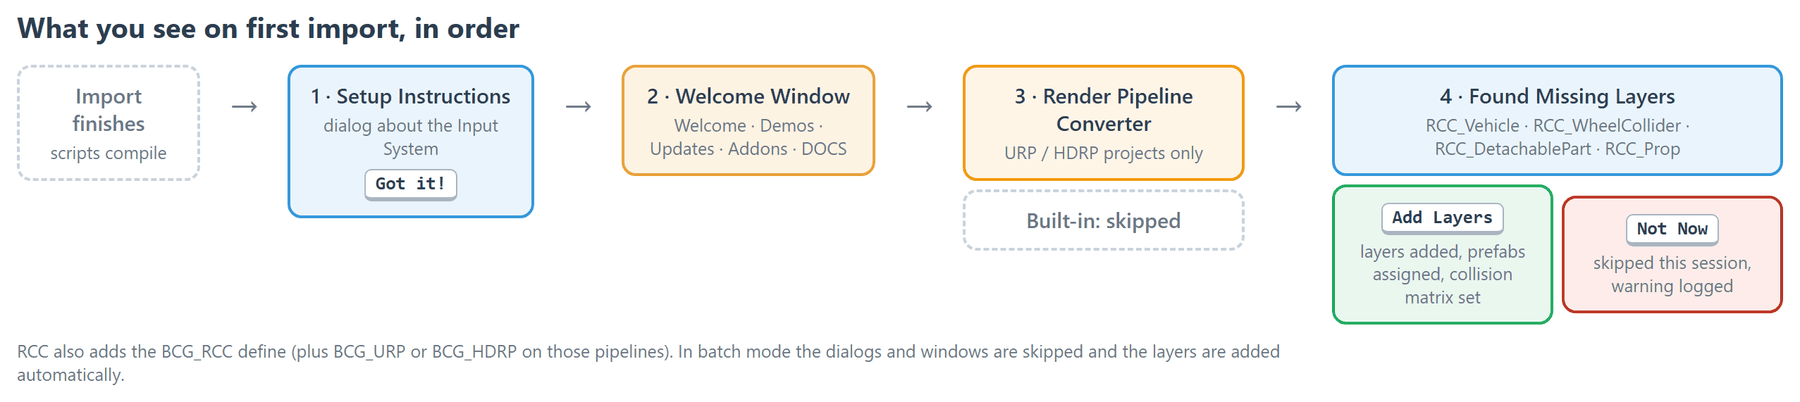
- Realistic Car Controller | Setup Instructions dialog. It reminds you about the Input System requirement. Click Got it!
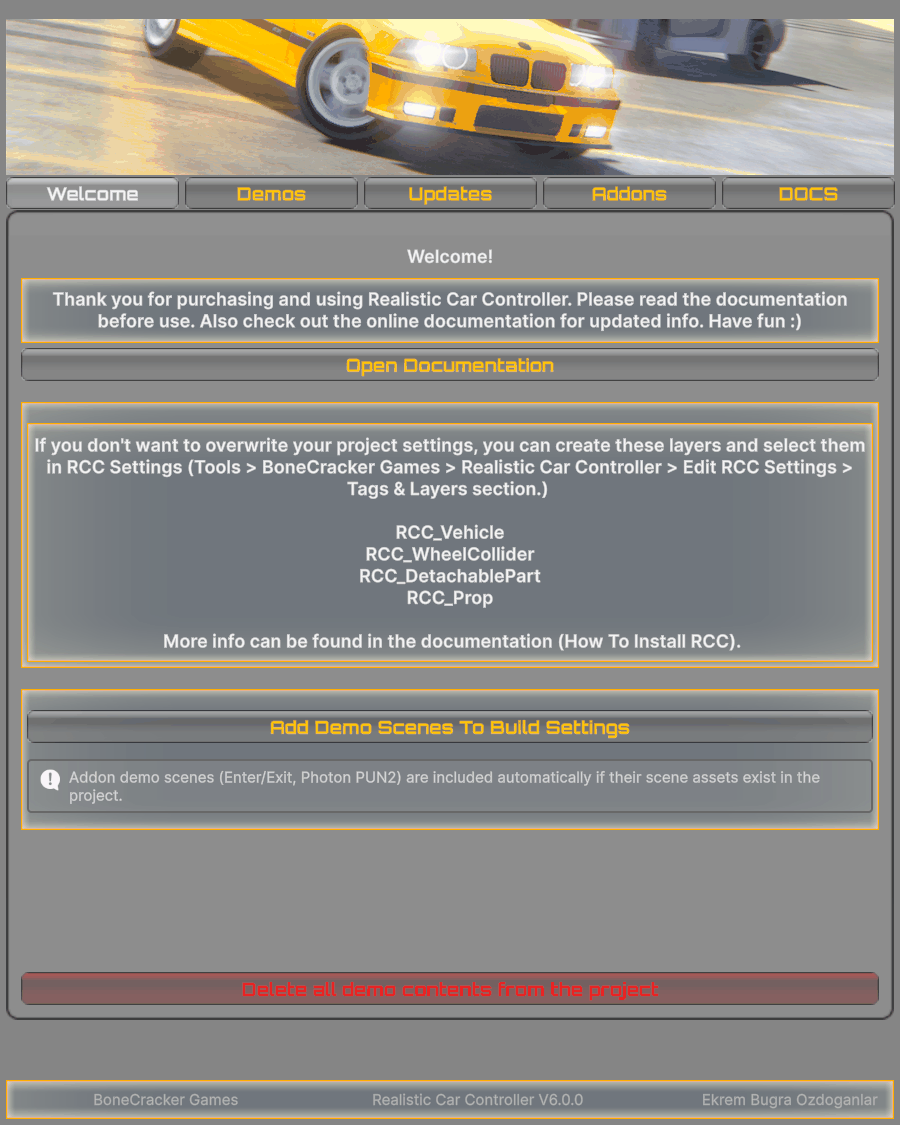
- Welcome Window opens, with the tabs Welcome, Demos, Updates, Addons and DOCS.
- URP and HDRP projects only: the Render Pipeline Converter window opens. Follow its steps to convert RCC's materials. See Render Pipelines.
- Found Missing Layers For Realistic Car Controller dialog. It lists the layers RCC needs:
-
RCC_Vehicle-RCC_WheelCollider-RCC_DetachablePart-RCC_Prop
Click Add Layers. RCC adds each layer to the first empty user layer slot, then assigns the layers to RCC's vehicle, detachable part, trailer and prop prefabs (you will see progress bars) and sets up the physics collision matrix.
If you click Not Now, the dialog doesn't come back this editor session, and RCC skips the prefab layer assignment and logs a warning. To use your own layer names, set them in Tools → BoneCracker Games → Realistic Car Controller → Edit RCC Settings → Tags & Layers.
RCC also adds the BCG_RCC scripting define symbol, and BCG_URP or BCG_HDRP when your project uses URP or HDRP. It keeps the pipeline define in sync automatically on every editor load and whenever the active pipeline changes.
In batch mode, RCC skips the dialogs and windows and adds the missing layers automatically.
To reopen the Welcome Window: Tools → BoneCracker Games → Realistic Car Controller → Welcome Window.
Verify the Installation
- Open
Assets/RealisticCarControllerV4/Demo Scenes/RCC_City.unity. - Press Play.
- Drive with W A S D or the arrow keys. Press C to change the camera.
To run the all-in-one demo (RCC_City_AIO), click Add Demo Scenes To Build Settings on the Welcome Window's Welcome tab first. It needs every demo scene in Build Settings.
If you get compile errors that mention UnityEngine.InputSystem, the Input System package is missing. If materials are pink, run the Render Pipeline Converter. For other problems, see Troubleshooting.
Optional Addons
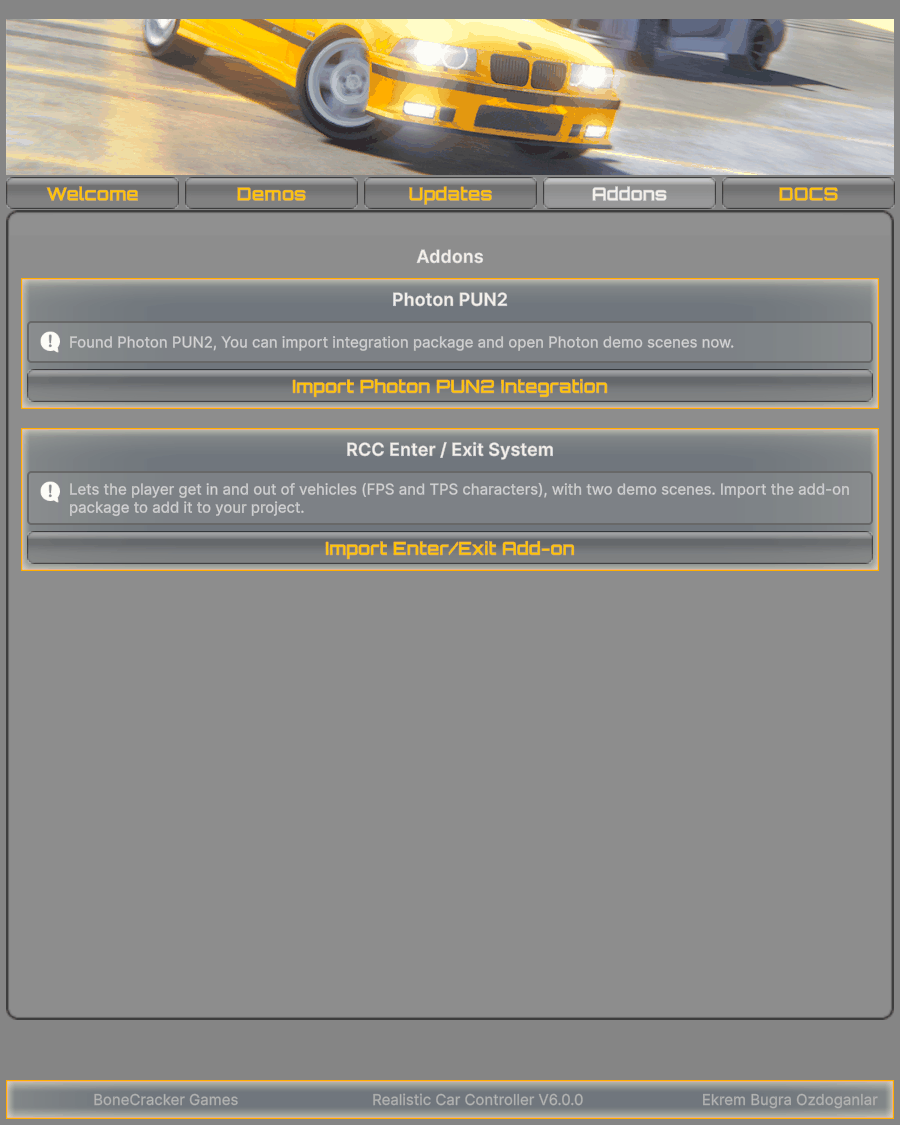
Photon PUN 2 multiplayer and the Enter-Exit system ship as addon packages inside Addon Packages/. Import them from Welcome Window → Addons. See Addon Packages.
Unity 6.6: "Missing Signature"
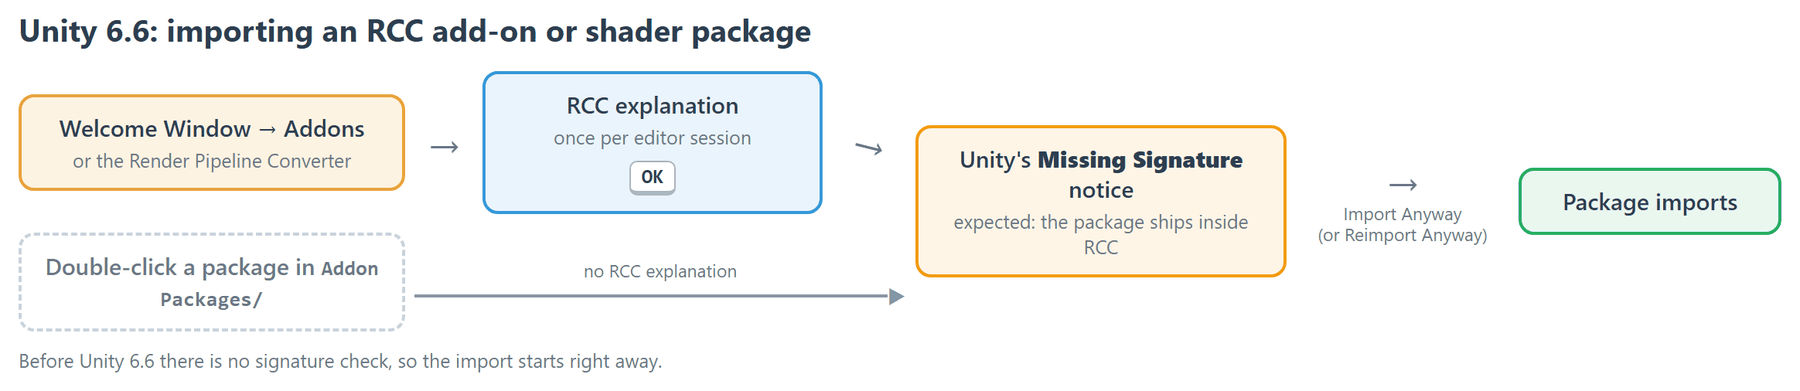
On Unity 6.6, importing one of RCC's bundled packages (shader packages, Photon, Enter-Exit) shows Unity's Missing Signature notice. This is expected. Click Import Anyway (or Reimport Anyway). When the import starts from the Welcome Window or the Render Pipeline Converter, RCC first shows a short explanation (once per editor session).
Upgrading from V5.x
- Back up your project.
- Move any of your own assets out of
Assets/RealisticCarControllerV4/. - Delete the
Assets/RealisticCarControllerV4/folder. - Import V6.0.0.
- If you use URP or HDRP, run the Render Pipeline Converter again: Tools → BoneCracker Games → Realistic Car Controller → Render Pipeline Converter.
- Re-import the addons you use to get their V6 fixes:
- Enter-Exit: double-click
Addon Packages/For BCG Shared Assets (Enter-Exit)/BCG Shared Assets.unitypackage. - Photon PUN 2: Welcome Window → Addons → Import Photon PUN2 Integration. On Unity 6.5 and newer, update PUN 2 from the Asset Store first.
No scripting API was removed or renamed. Code written for V5.x keeps working.
Behavior changes in V6:
Changed in V6: Gamepad High Beam moved from Left Stick Down to the View / Select button.
Changed in V6: Switching the build platform turns Mobile Controller Enabled on (Android, iOS) or off (Windows, macOS, Linux). If you chose Ignore and don't warn me again in an earlier version, that choice is kept and the automatic switch stays off. See Mobile Setup.
Changed in V6: Registering a new player vehicle takes player control away from the previously registered one.
Changed in V6: Enter-Exit on-foot mobile controls follow RCC's Mobile Controller Enabled setting.
Uninstalling
- In the Unity Project window, delete
Assets/RealisticCarControllerV4/. - If you imported the Enter-Exit addon, also delete
Assets/BCG Shared Assets/. Its editor scripts need RCC.
New in V6: Deleting the RCC folder inside Unity removes RCC's scripting define symbols automatically:
BCG_RCC,BCG_URP,BCG_HDRP,BCG_ENTEREXITandRCC_PHOTON.
If you deleted the folder outside Unity (Explorer / Finder), remove those symbols yourself in Edit → Project Settings → Player → Scripting Define Symbols.
If you removed only an addon, the Photon PUN 2 SDK, or URP / HDRP outside Unity while RCC stays installed, use Tools → BoneCracker Games → Realistic Car Controller → Other → Remove Stale Add-on Defines. If compile errors keep that menu from appearing, remove the define by hand (see Addon Packages).
The four RCC layers stay in your project's Tags & Layers. Remove them there if you don't need them.
Documentation
This documentation ships with RCC as HTML. Open it with Tools → BoneCracker Games → Realistic Car Controller → Help → Documentation (Offline), or with Documentation (Offline HTML) on the Welcome Window's DOCS tab.