Quick Start
The shortest path from import to driving: play a demo, drive a demo car in your own scene, spawn a car from code, and add an AI car.
RCC must already be imported with no compile errors. See How to Install RCC.
1. Play a Demo Scene
- Open
Assets/RealisticCarControllerV4/Demo Scenes/RCC_City.unity. - Press Play.
- Drive with W / A / S / D. Press C to change the camera.
All demo scenes are described in Demo Scenes.
2. Drive a Demo Car in Your Own Scene
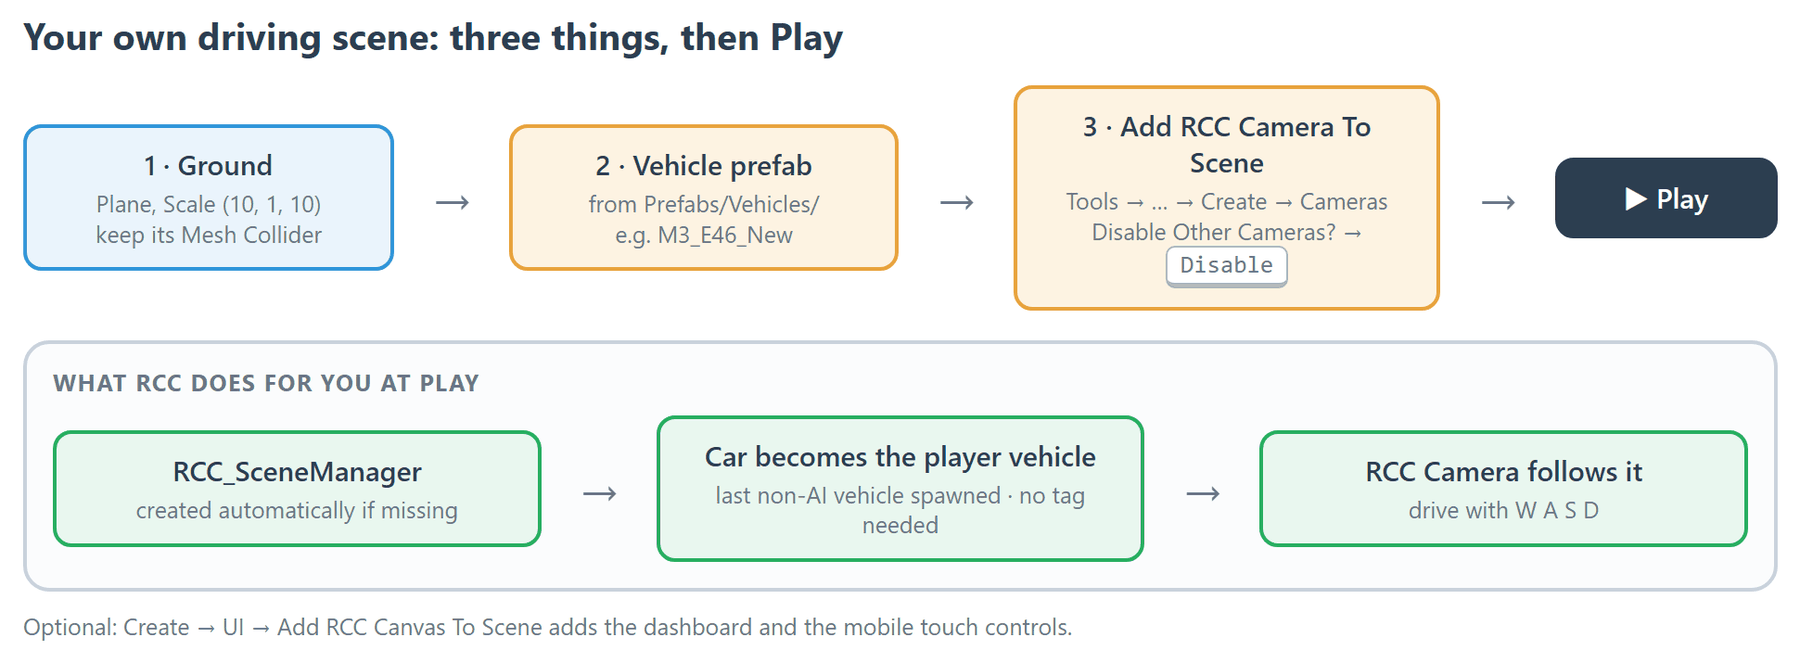
- Create a new scene (File → New Scene) and save it.
- Add a ground: GameObject → 3D Object → Plane, then set its Scale to (10, 1, 10). The plane comes with a Mesh Collider. Keep it, or the car falls through.
- Drag a vehicle prefab from
Assets/RealisticCarControllerV4/Prefabs/Vehicles/(for exampleM3_E46_New) onto the plane. - Click Tools → BoneCracker Games → Realistic Car Controller → Create → Cameras → Add RCC Camera To Scene.
- Press Play.
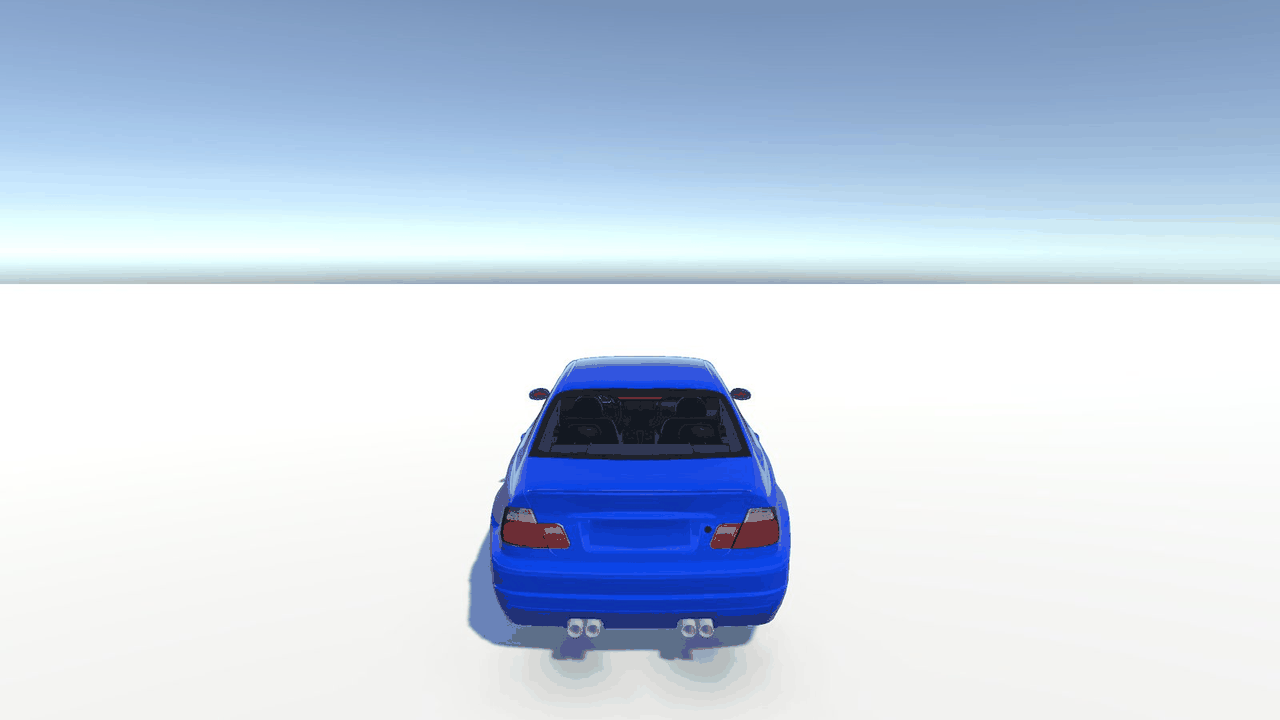
The last non-AI vehicle that spawns becomes the player vehicle, so a single car in the scene is picked up automatically. There is no tag to set. You do not need to add a Scene Manager either: it is created automatically when missing. To add one by hand, use Tools → BoneCracker Games → Realistic Car Controller → Create → Managers → Add RCC Scene Manager.
Changed in V6: Add RCC Camera To Scene offers to disable the scene's existing Main Camera and its AudioListener (dialog Disable Other Cameras?, button Disable). Nothing is deleted, and Ctrl+Z undoes it. You no longer need to delete Main Camera yourself.
Optional: dashboard and mobile controls. Click Tools → BoneCracker Games → Realistic Car Controller → Create → UI → Add RCC Canvas To Scene. This adds Prefabs/UI/RCC_Canvas.prefab, which holds the dashboard gauges and the touch controls. The touch controls appear only when mobile controls are enabled. See Mobile Setup.
3. Spawn a Car from Code
Attach this script to any GameObject. Assign a vehicle prefab and a spawn point, enter Play mode, and press H.
using UnityEngine;
using UnityEngine.InputSystem;

public class SpawnCarOnKey : MonoBehaviour {

    public RCC_CarControllerV4 vehiclePrefab;
    public Transform spawnPoint;

    void Update() {

        if (Keyboard.current == null || !Keyboard.current.hKey.wasPressedThisFrame)
            return;

        // Spawns the vehicle, makes it the player vehicle, gives control, starts the engine.
        RCC.SpawnRCC(vehiclePrefab, spawnPoint.position, spawnPoint.rotation, true, true, true);

    }

}
RCC.SpawnRCC(prefab, position, rotation, registerAsPlayerVehicle, isControllable, isEngineRunning) returns the spawned RCC_CarControllerV4. To make a car that is already in the scene the player vehicle, call RCC.RegisterPlayerVehicle(vehicle).
Changed in V6: registering a new player vehicle takes control away from the previous one.
All RCC.* methods are listed in Scripting API.
4. Optional: Add an AI Car
RCC's AI steers with Unity's NavMeshAgent, so the ground needs a baked NavMesh. Continue from the scene you built in section 2:
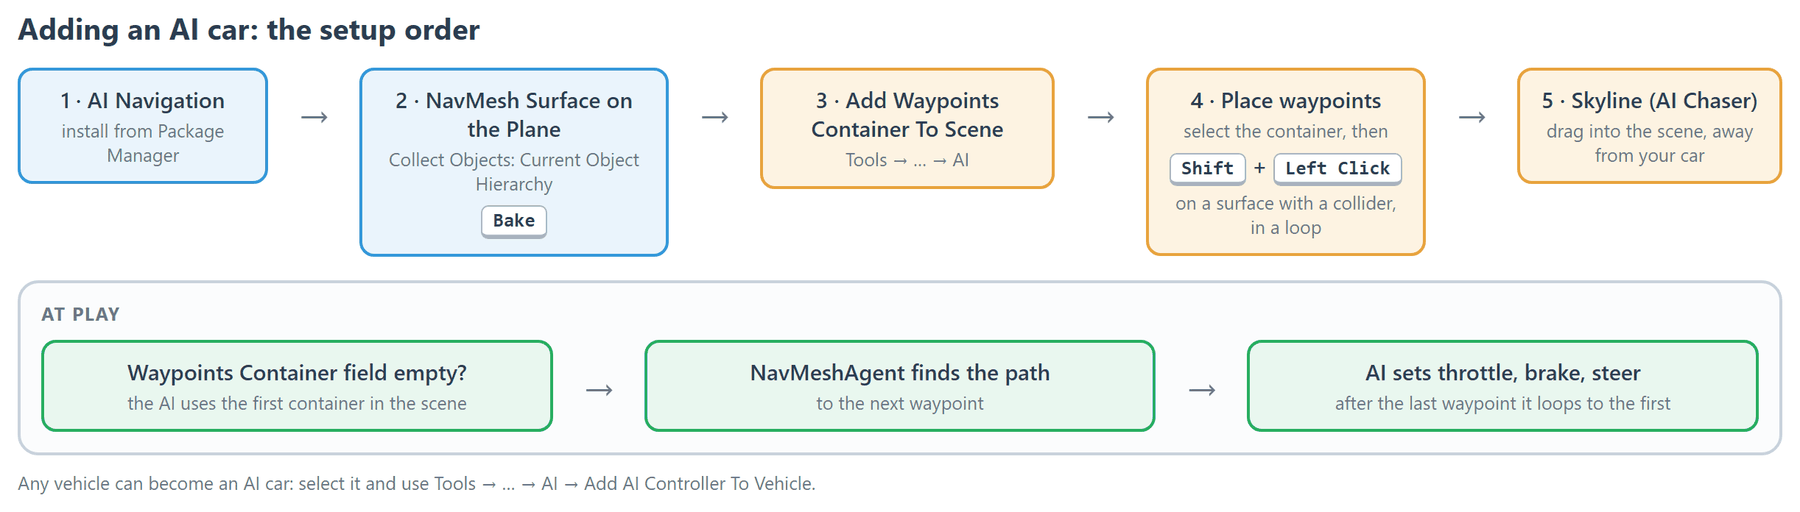
- Install AI Navigation from the Package Manager if your project does not have it yet.
- Select the Plane and add the NavMesh Surface component. Set Collect Objects to Current Object Hierarchy, so the cars are not baked into the NavMesh. Then click Bake.
- Click Tools → BoneCracker Games → Realistic Car Controller → AI → Add Waypoints Container To Scene.
- With Waypoints Container selected, Shift + Left Click on the ground in the Scene view to place waypoints in a loop. Waypoints are placed only on surfaces that have a collider.
- Drag
Prefabs/Vehicles/Skyline (AI Chaser).prefabinto the scene, away from your own car. It ships in Follow Waypoints mode. - Press Play.
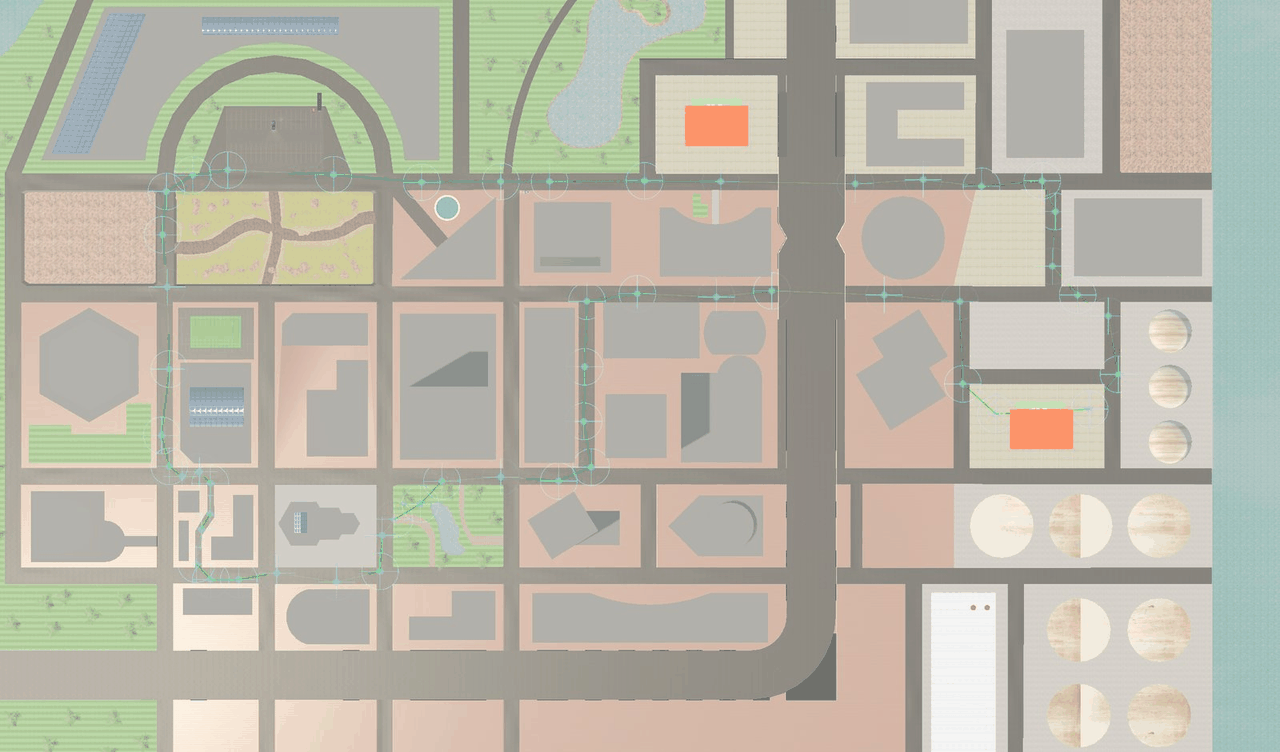
If the AI car's Waypoints Container field is left empty, it uses the first waypoints container it finds in the scene. To turn any vehicle into an AI car, select it and click Tools → BoneCracker Games → Realistic Car Controller → AI → Add AI Controller To Vehicle. The full AI setup is in AI System.
See Also
- Creating New Vehicles: turn your own car model into an RCC vehicle.
- Input System: all keyboard, gamepad and wheel controls.
- Mobile Setup: touch controls, tilt steering and platform switching.
- Behavior Presets: switch the driving feel (Balanced, Racing, Drift, Semi Arcade, Fun).
- Troubleshooting: common problems and their fixes.